 On the radar
Cable Lengths, Adding Ferrules and Shrink Wrap

Parts used in this build
No parts listed for this build.
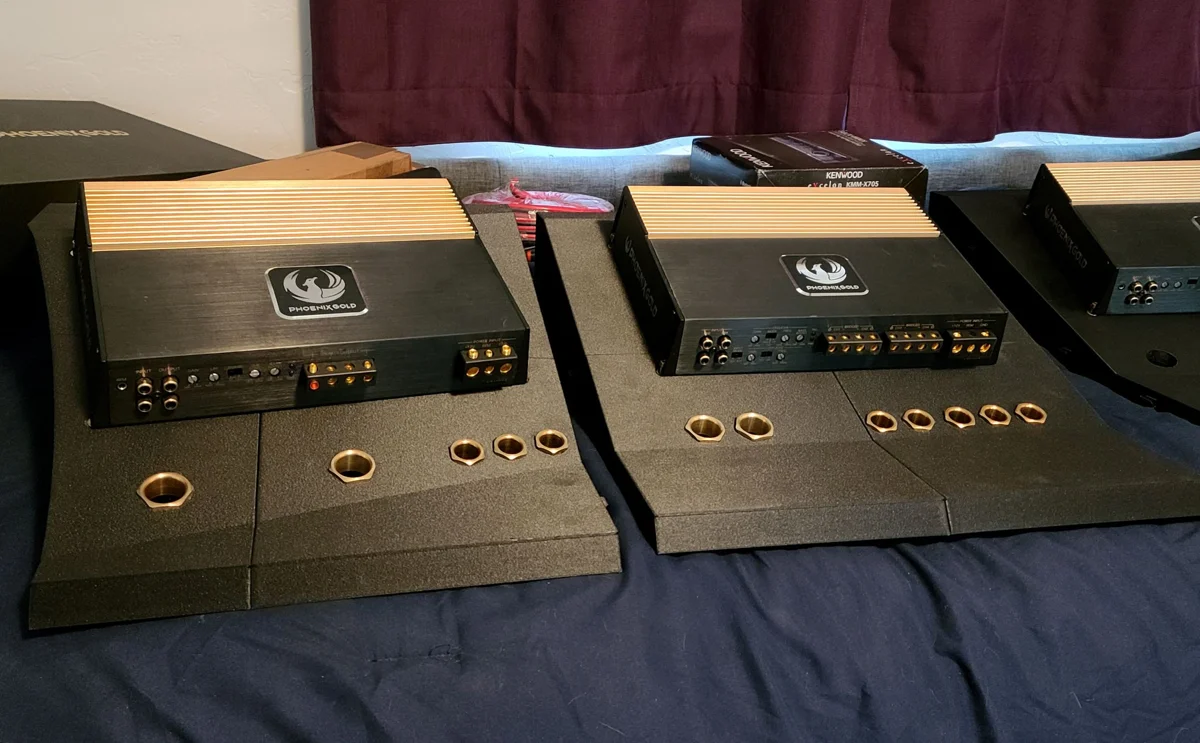
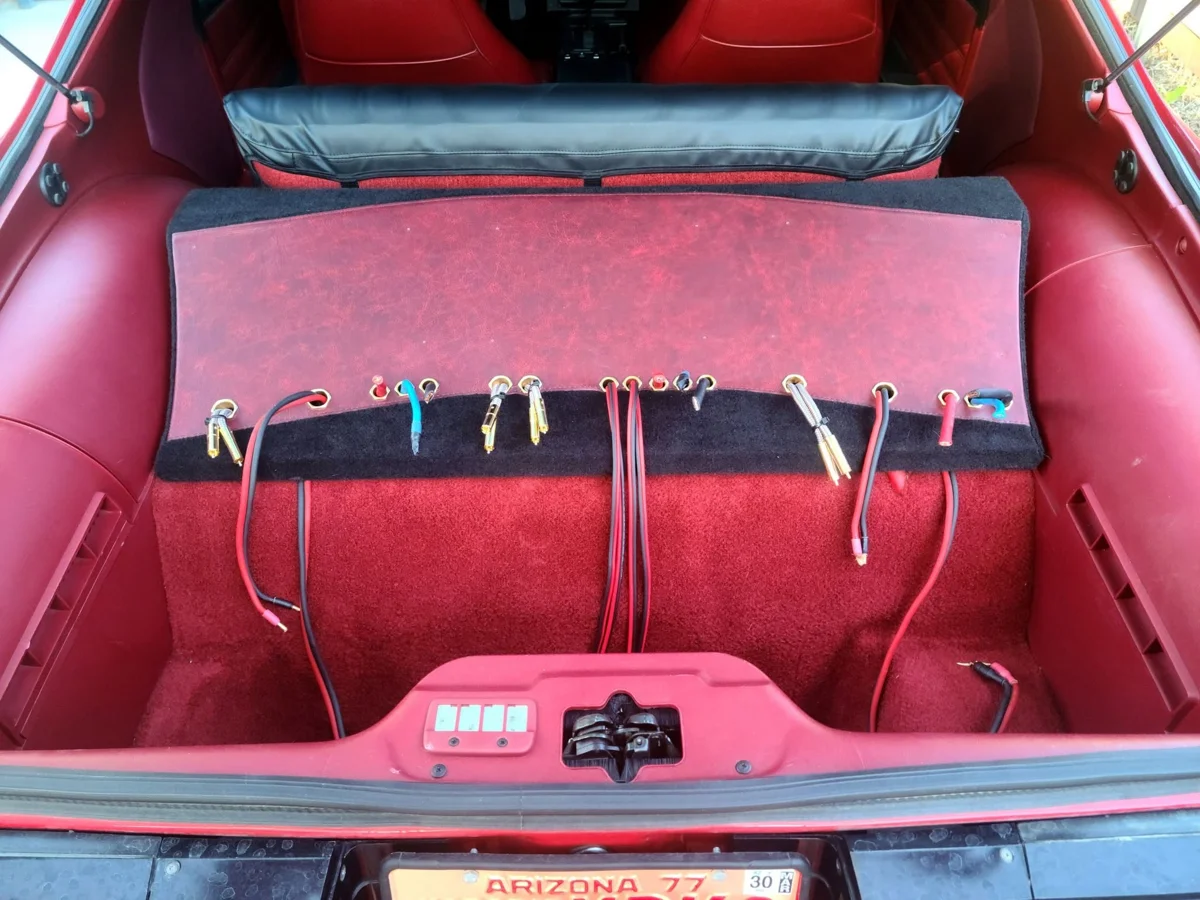
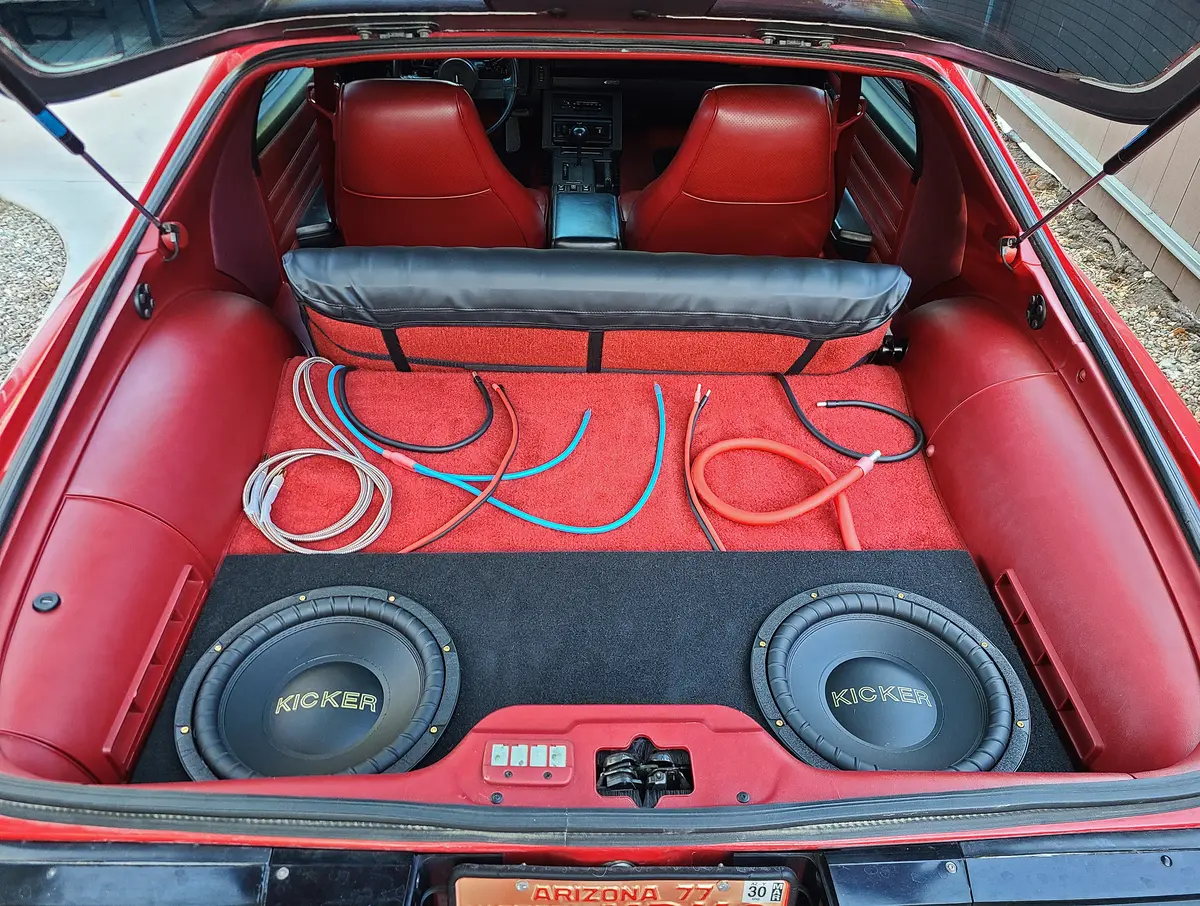
I am in the home stretch for this project now! I've the the amplifier rack almost completed (just waiting on a shorter set of RCAs), so I figured it's time to go ahead and officially finish up my cabling. I had everything ran, but I hadn't cut anything to length yet and I still need to install all my ferrules and shrink wrap.
Custom Wire Ferrules And Double Walled Adhesive Shrink Wrap
From the beginning of this project, I planned to use ferrules for all of my connections. For that matter, I planned ahead-of-time to max out my cable sizes for every possible connection… Because of that, I also had to match up exact cable sizes with ferrules that were the correct length for the application, and also fit both the cable AND input perfectly.
- For instance, the ferrules that the amplifier inputs accept are significantly shorter than the ferrules that the power distribution block inputs. I had to find exact sized and extra long ferrules for these special applications.
- This process took countless hours of planning, measuring, and sourcing the perfect ferrules.
After obtaining all of the cabling and matching ferrules for each connection, I went on the search for some really nice shrink wrap for the project. I found some great double-walled shrink wrap kits that had really nice adhesive lining that were just perfect.
The end product is beautiful! I love seeing all of the cabling ready-to-go and knowing I am just a couple steps away from hearing the system.