 On the radar
Amplifier Rack: Part 3 (Completion)

Parts used in this build series
No parts listed for this build.
Finally ready to get the amplifier rack all finished up and ready for installation!
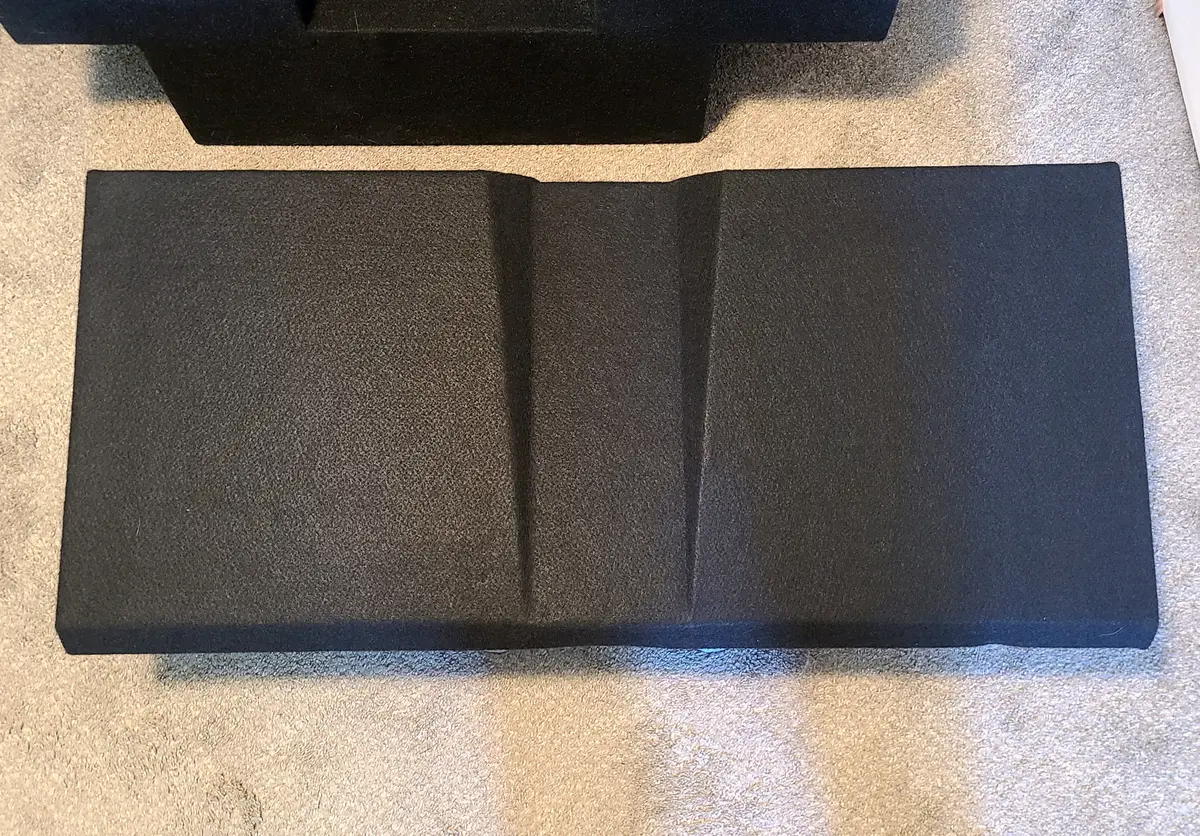
Carpeting The Amplifier Rack
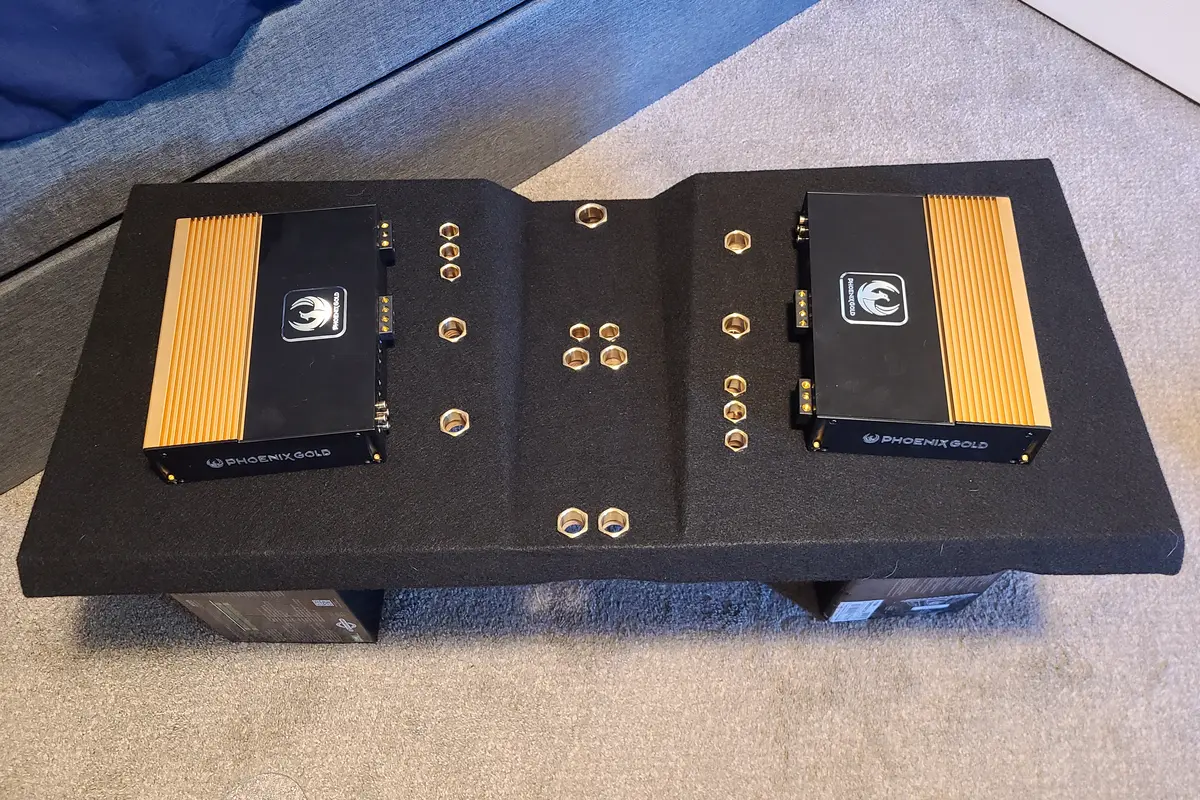
I decided to take the plunge and carpet the amplifier rack in order to proceed to the next required steps. I've only done carpet a couple times so I was hesitant because I didn't want to mess it up. However, once I got started it laid down beautifully.
I used good 'ol 3M Super 77 spray adhesive on both surfaces, waited until very tacky and then laid it all down. On the back side I wrapped just enough around and stapled it down to prevent it from ever coming loose.
Luckily, this is by far the best carpeting job I've done to date!
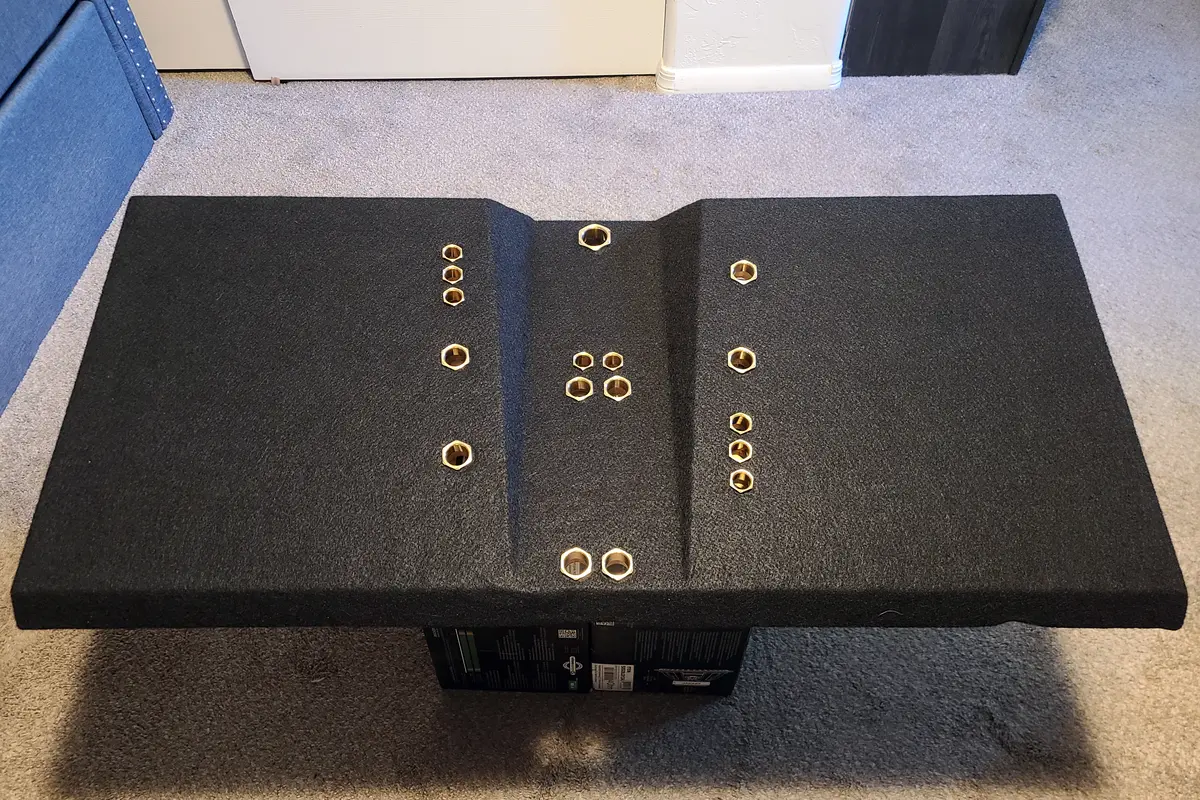
Installing The Threaded Brass Bushes
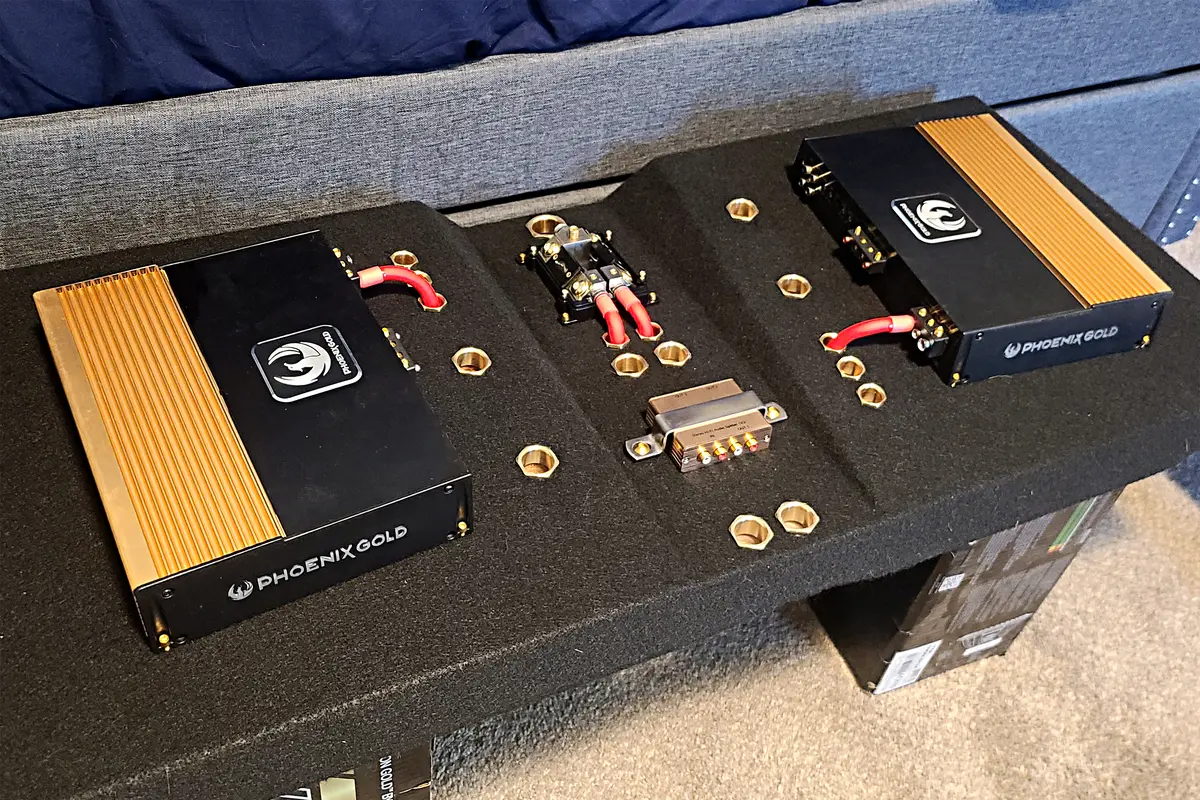
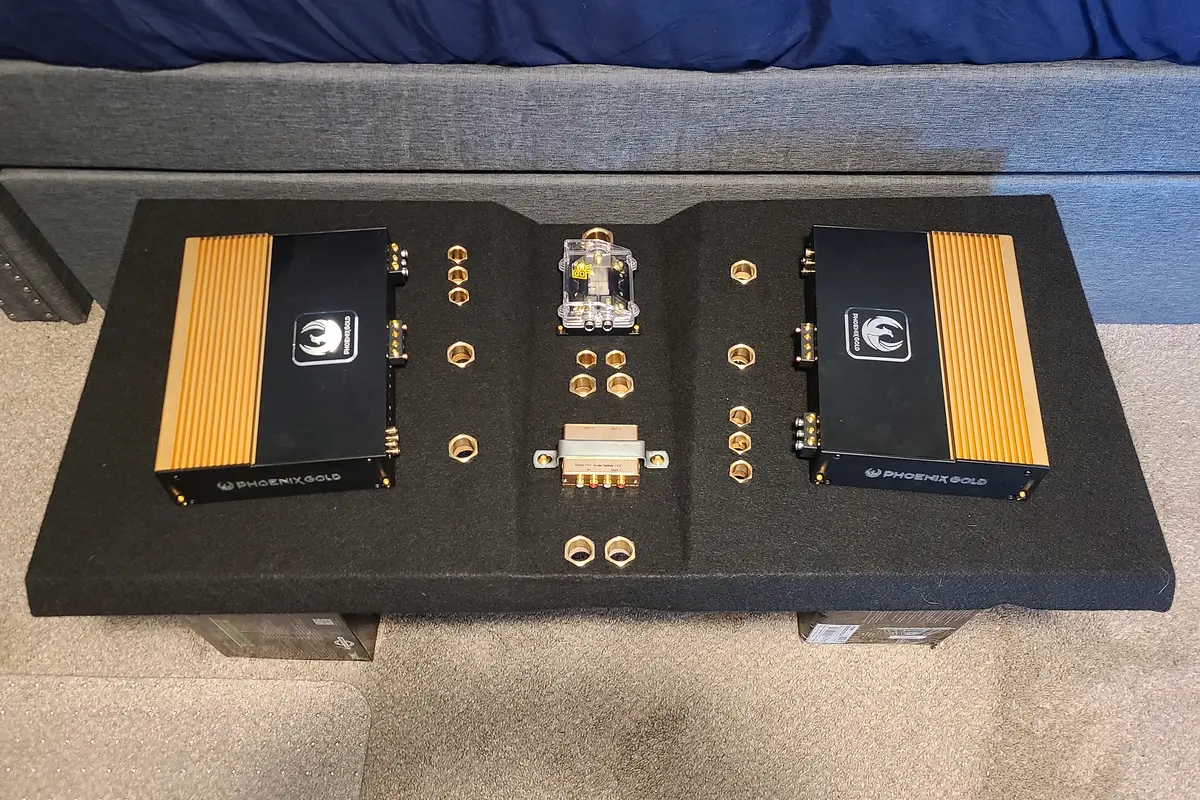
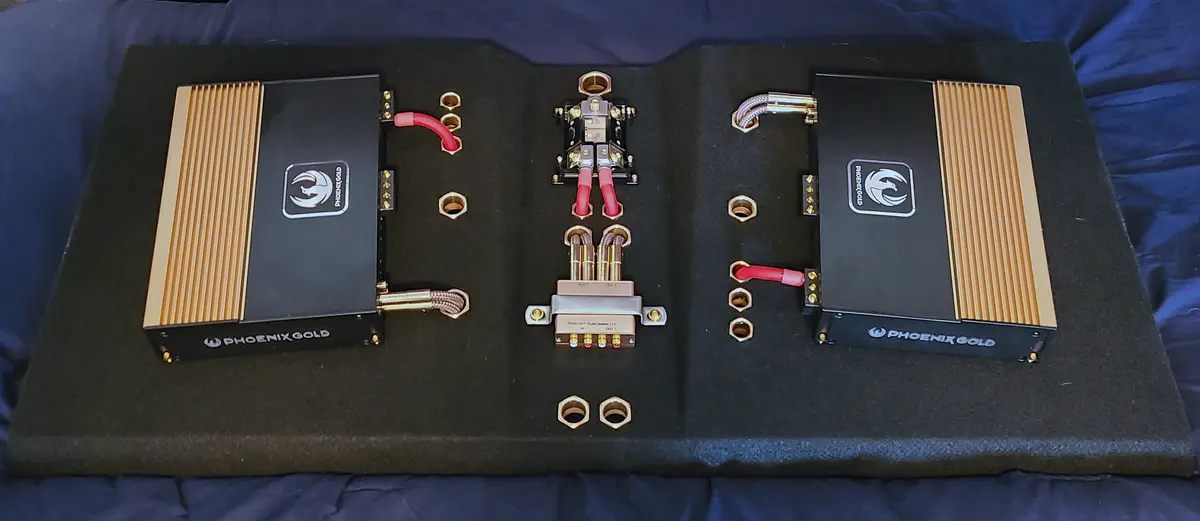
The bushes are smooth on the inside with nice, heavy threads on the outside. I did have to purchase some specific sockets for each size, and they went in tightly (no glue needed). I seriously could not stop looking at it after putting them in… it looks so good!
Locating The Threaded Inserts And Securing Amplifiers, Power and RCA Distribution
It was tricky to locate the small threaded inserts that I had installed (under the carpet). I ended up using toothpicks to find and mark the spots, and then carefully removed just enough carpet with the tip of a razor blade to get the machine screws in.
Installing Distributed Power And RCA Cables
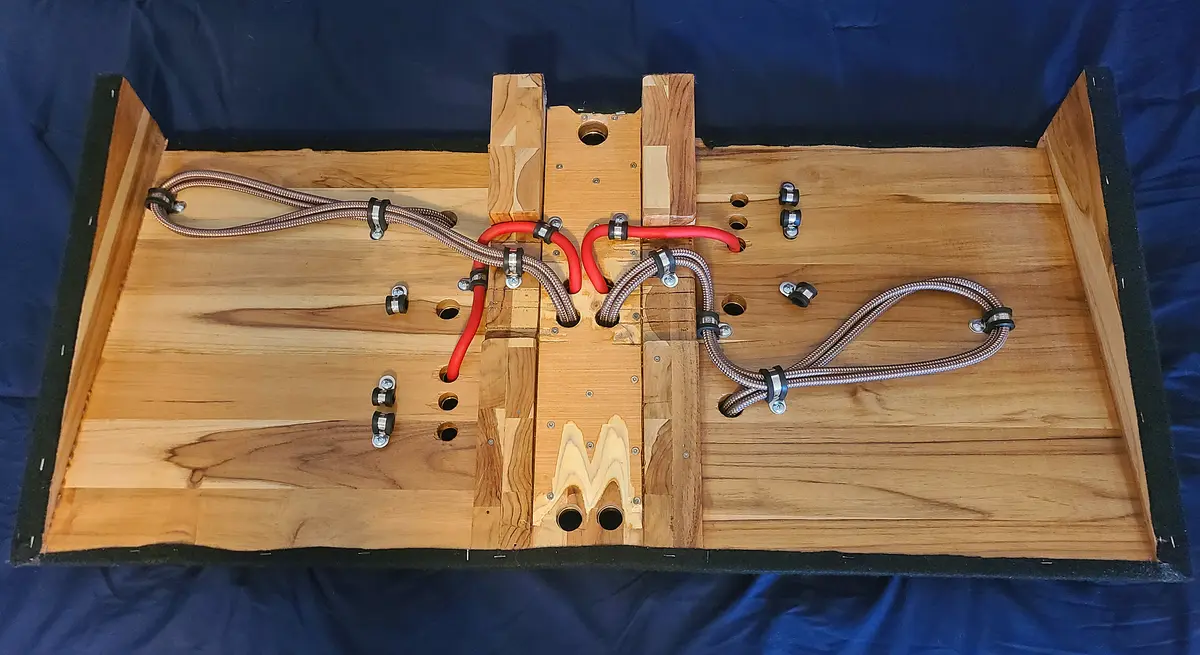
I was able to install and secure the two 4ga power cables and two of the RCA runs (4 cables) directly to the amplifier rack, which was nice. For all cables, I utilized stainless/rubber cable clamps to hold them tightly in-place to prevent any rattles.
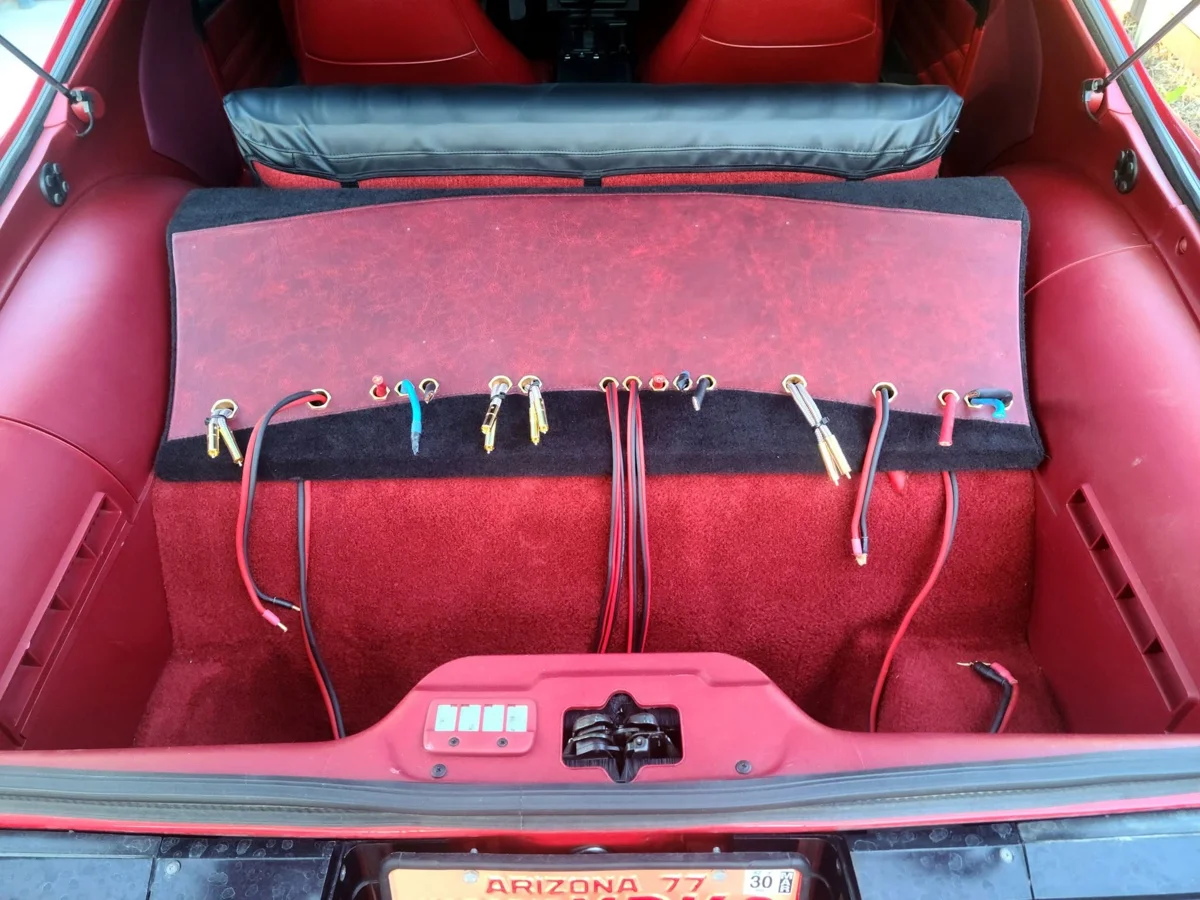
For the remaining ~ 13 cables that I would have to connect after placing the rack into the vehicle, I installed cable clamps on the back of the rack ahead-of-time so I could easily connect them all up in the car.