 On the radar
New Amplifier Rack - 3D Printed (Part 2: Printing and Testing)

Parts used in this build series
No parts listed for this build.
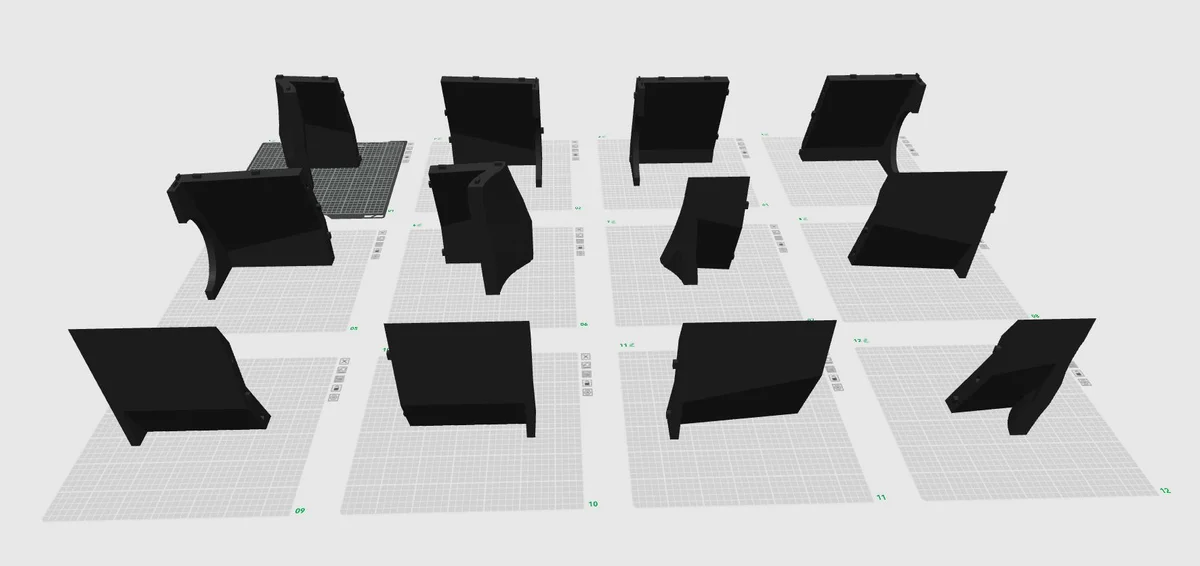
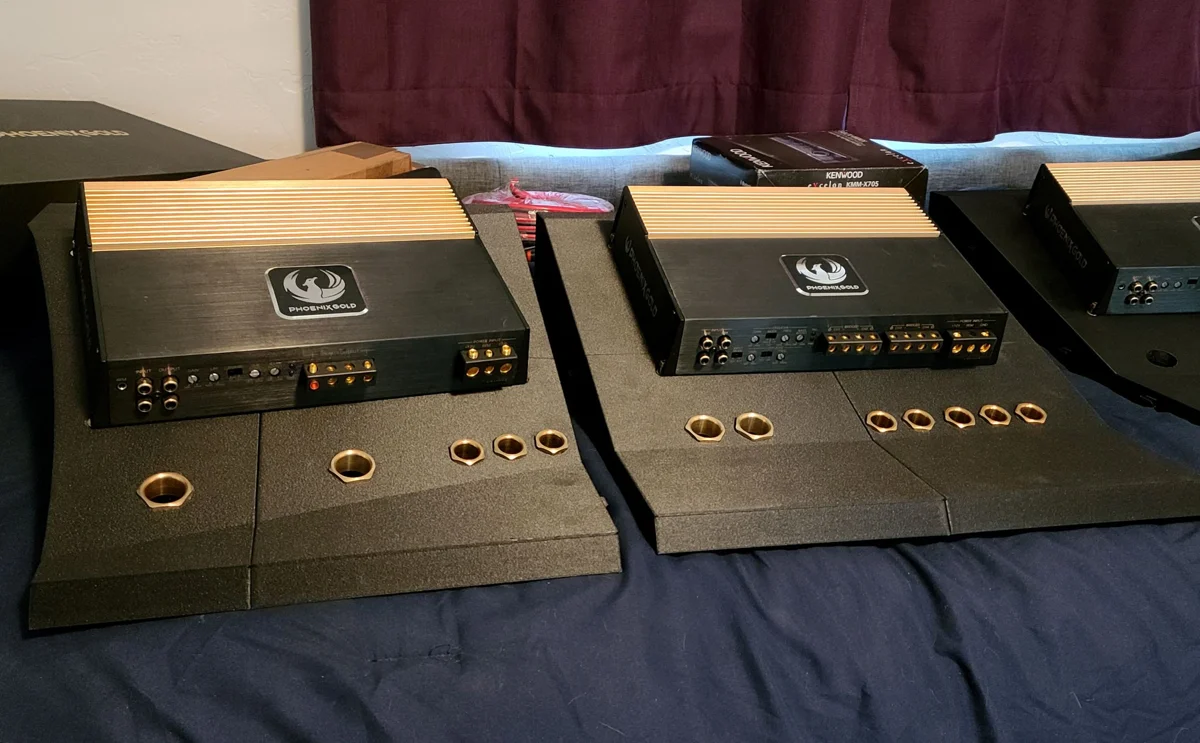
I ended up printing two complete racks initially for all of my test fitting (using PETG material). Then, after making all of my fine-tuned adjustments to the design, I went ahead and started printing the final version in carbon fiber reinforced nylon (PAHT-CF).
As of writing this build log, I've completed printing the "left" and “middle” sections (shown), and am printing the last couple pieces of the "right" section now. The fit and finish of everything is outstanding! After printing is completed, I will glue all 12 pieces together to form the full final, single-piece rack and cover it in carpet.
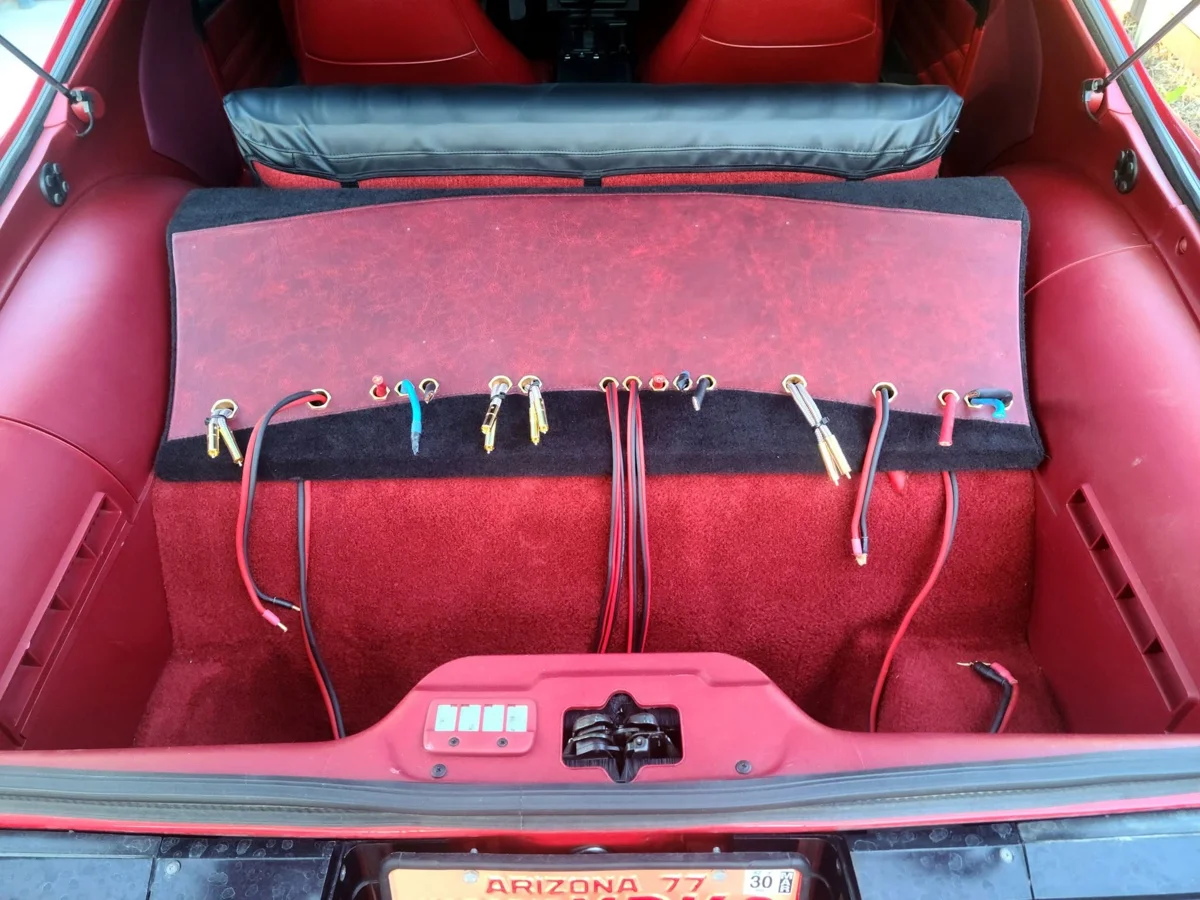
It's actually getting close now, and I am excited to get it all put together. I still also have to run two sets of RCA cables and 4 sets of speaker cables from the new 4-channel amplifier before I can wire it all up. One step at a time!