 On the radar
Chevrolet
Camaro
(1986)
— Mullet
New Amplifier Rack - 3D Printed (Part 3: Gluing and Prep for Upholstery)

Parts used in this build series
No parts listed for this build.
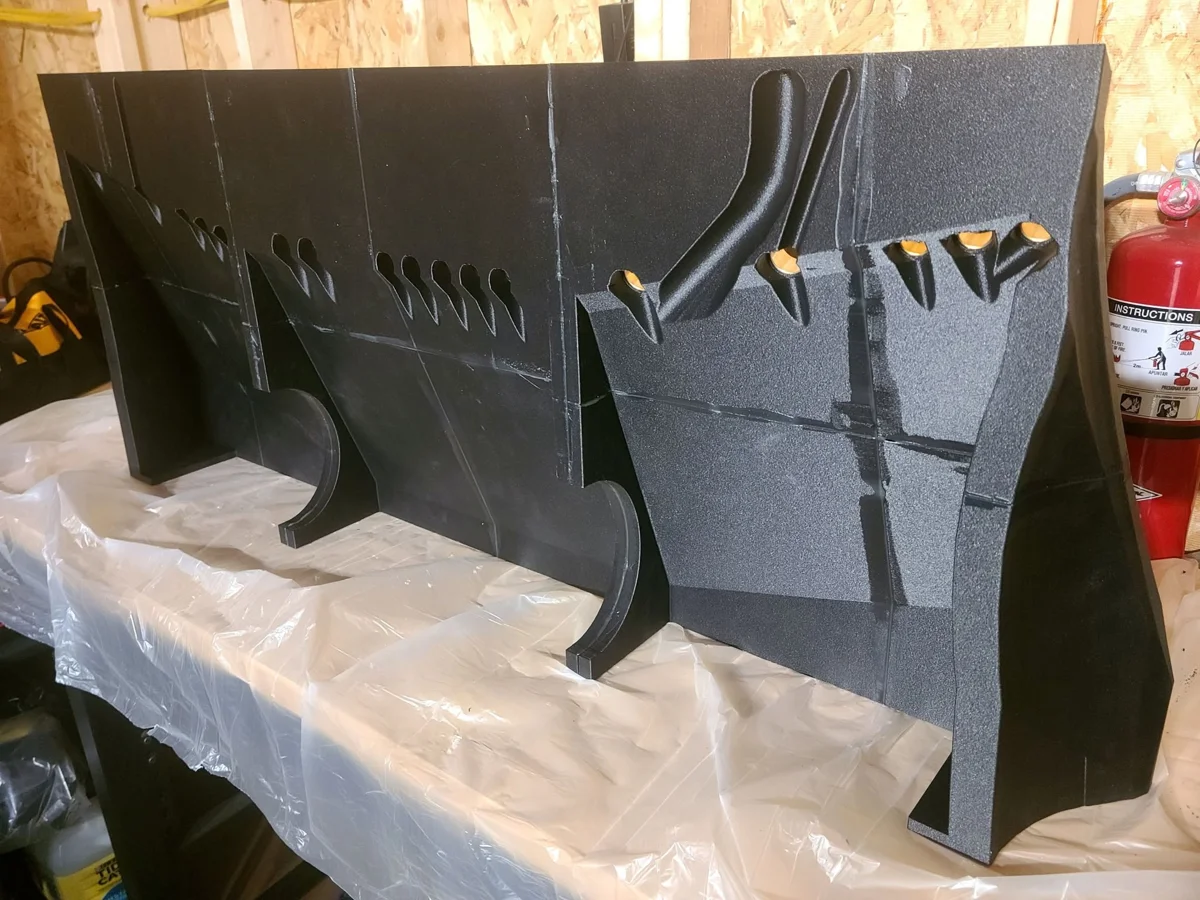
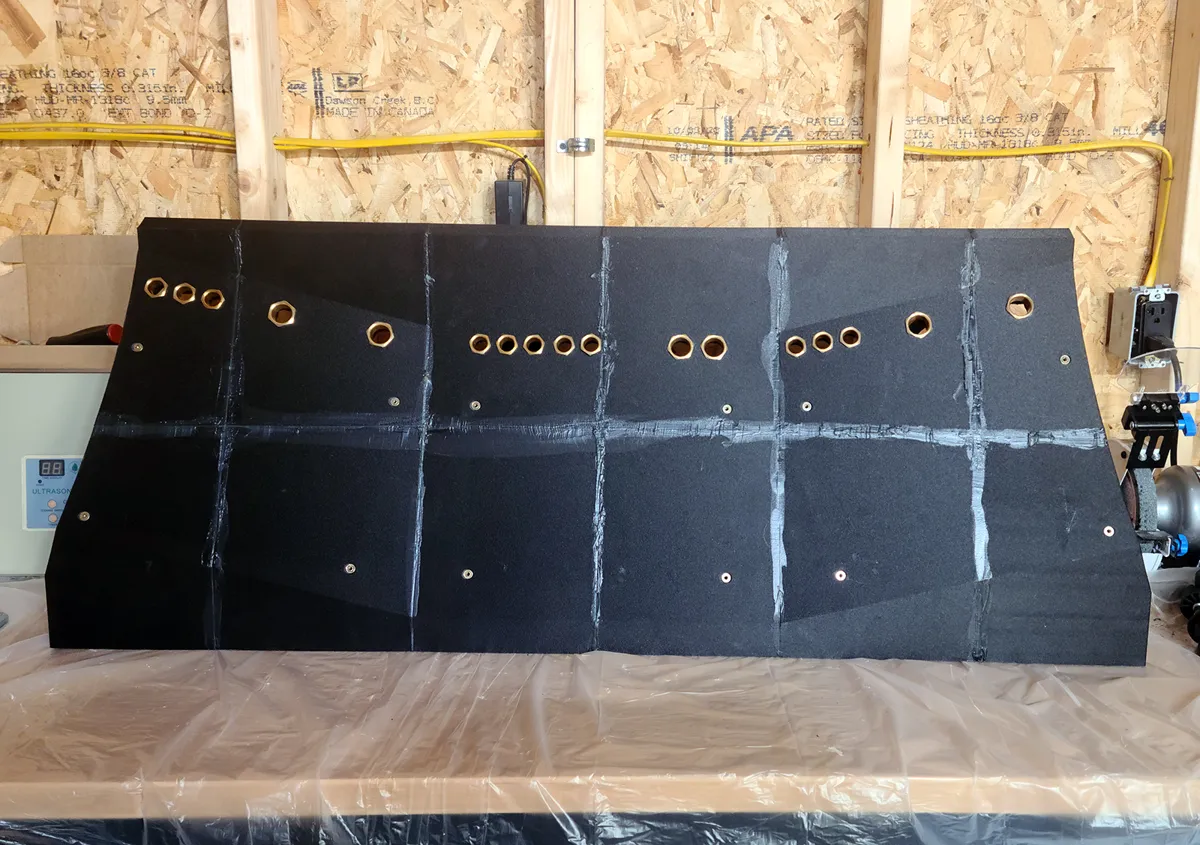
I finally got the entire rack printed out and decided to tackle the job of gluing all of the individual pieces together. For that matter, I am also getting all of the glue joints sanded to prepare for upholstery.
I used three 50ml tubes of a very special glue called Permabond TA4550 to put it all together.