 On the radar
Sound Deadening for Audio System

Parts used in this build
No parts listed for this build.
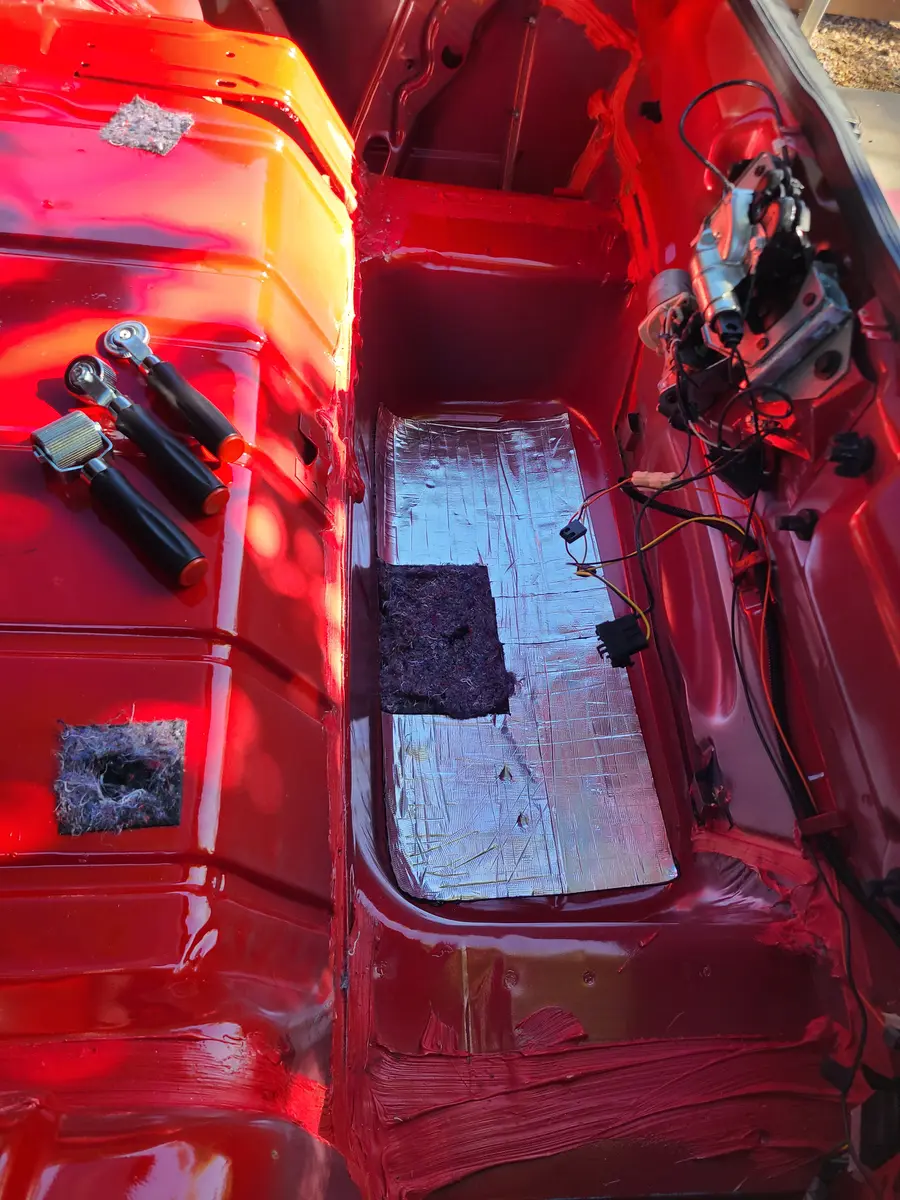
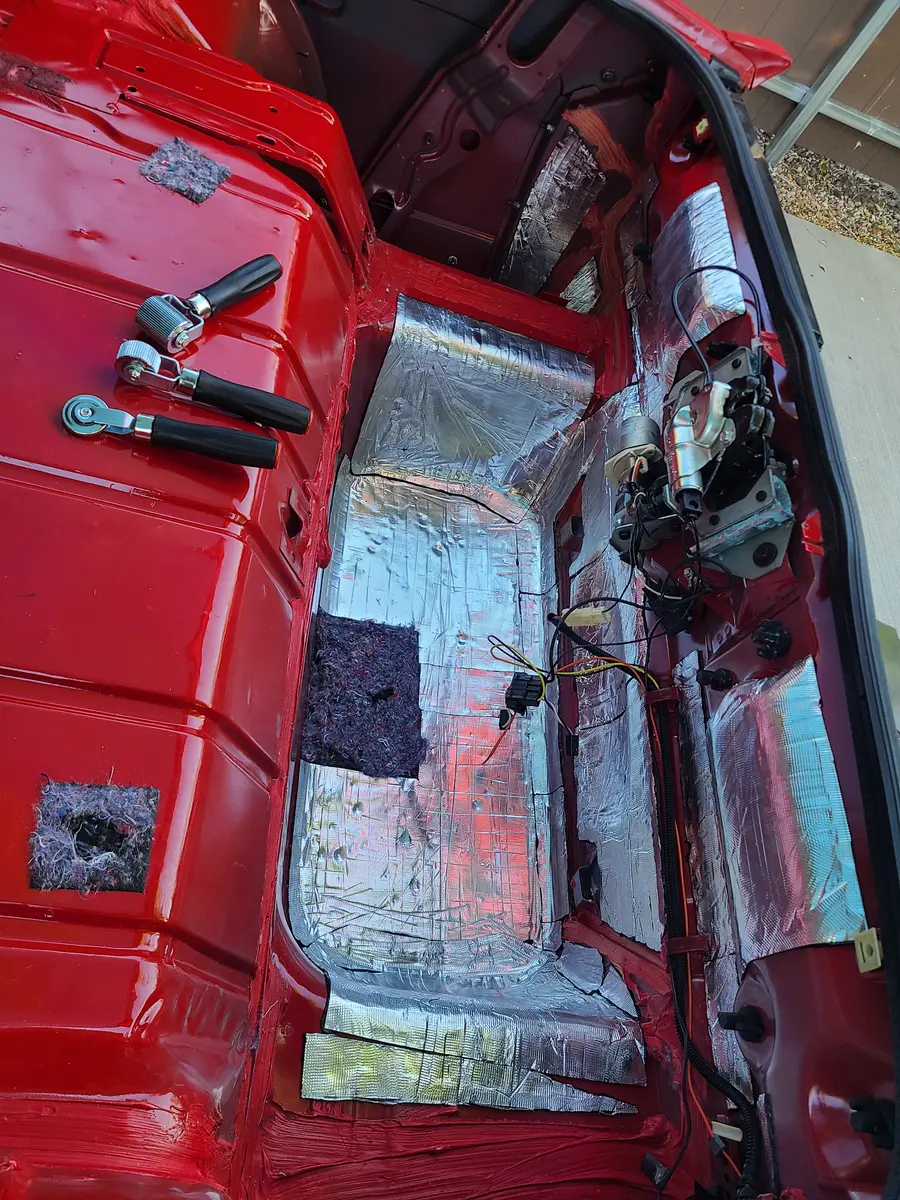
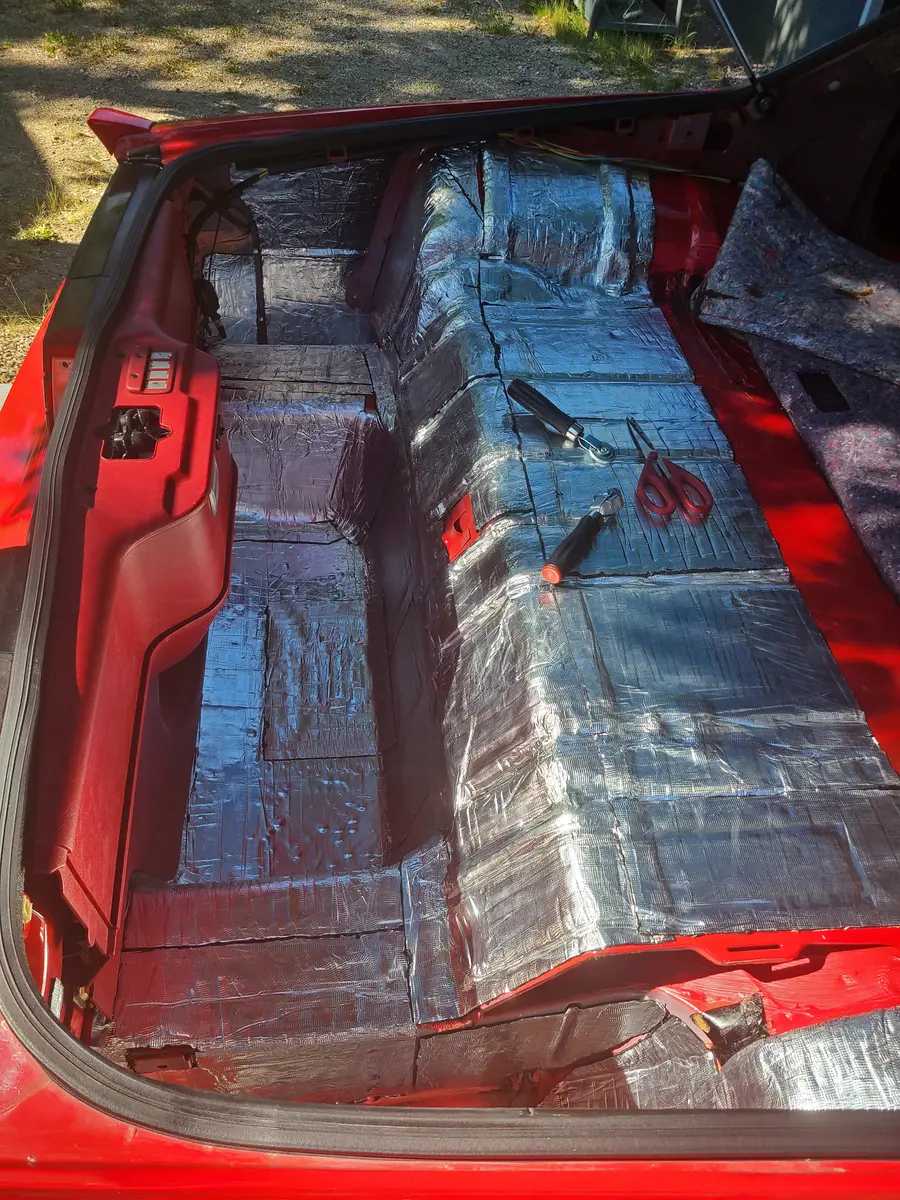
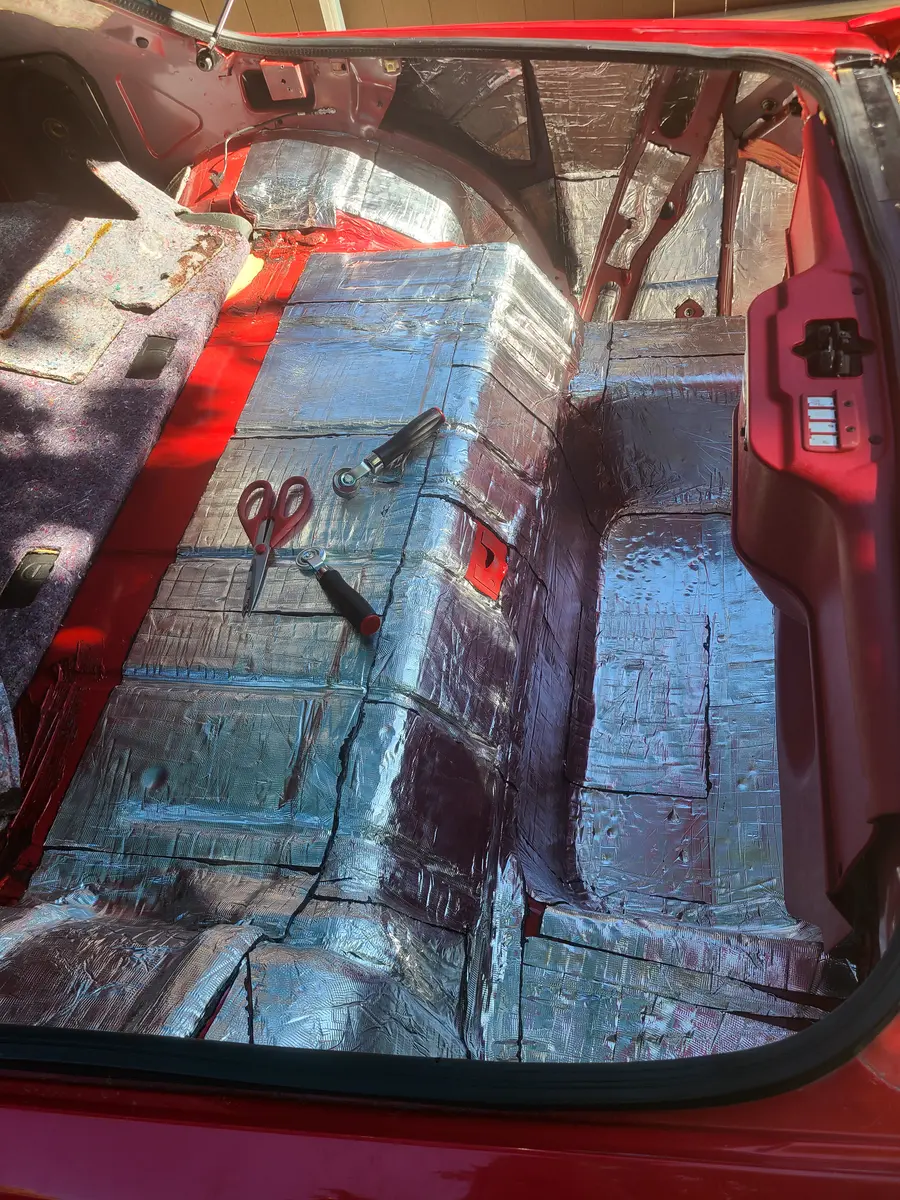
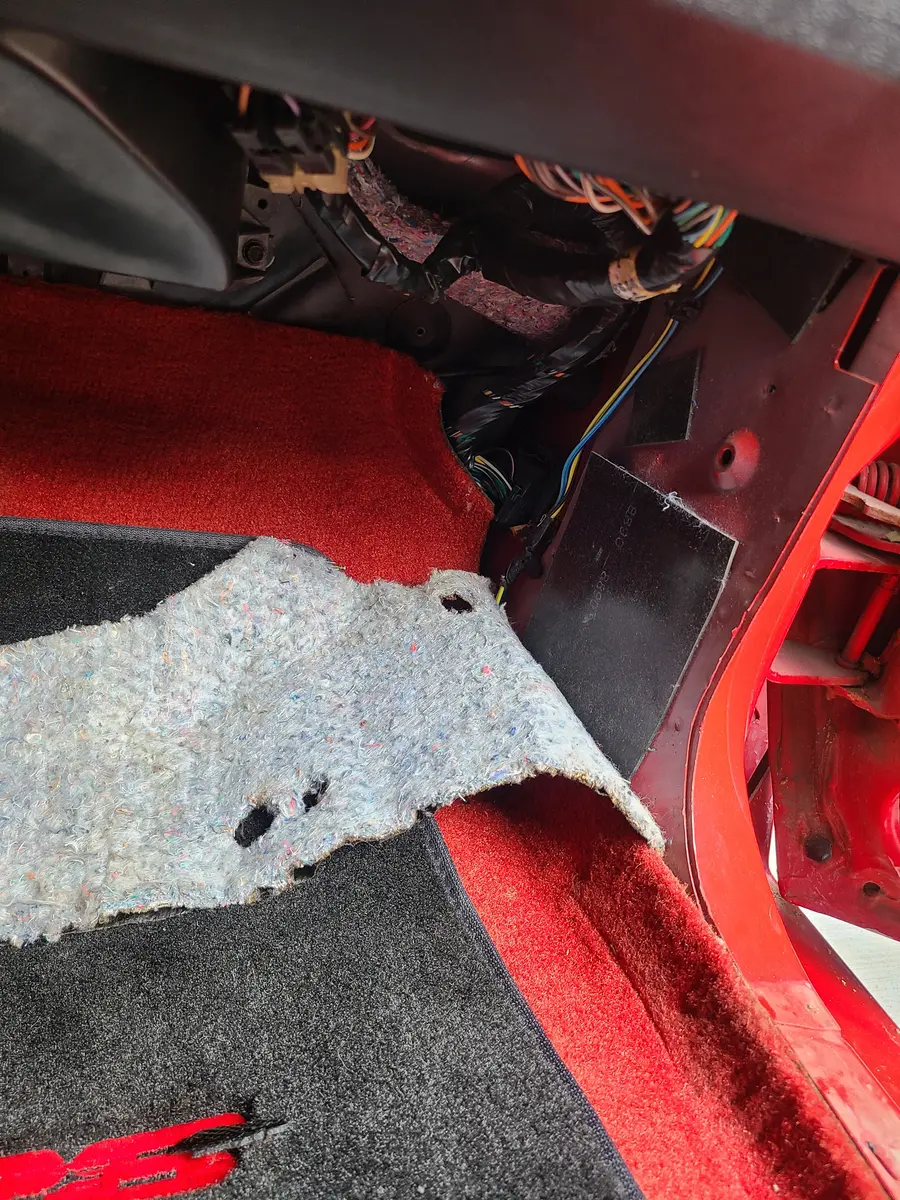
After much research on the best sound deadening materials available, I decided to go with ResoNix CLD. Because the majority of all the audio equipment will be in the rear of the car, the focus for this round of sound deadening is on everything from the rear seats back. The front floors and doors will be done too, but at a later time.
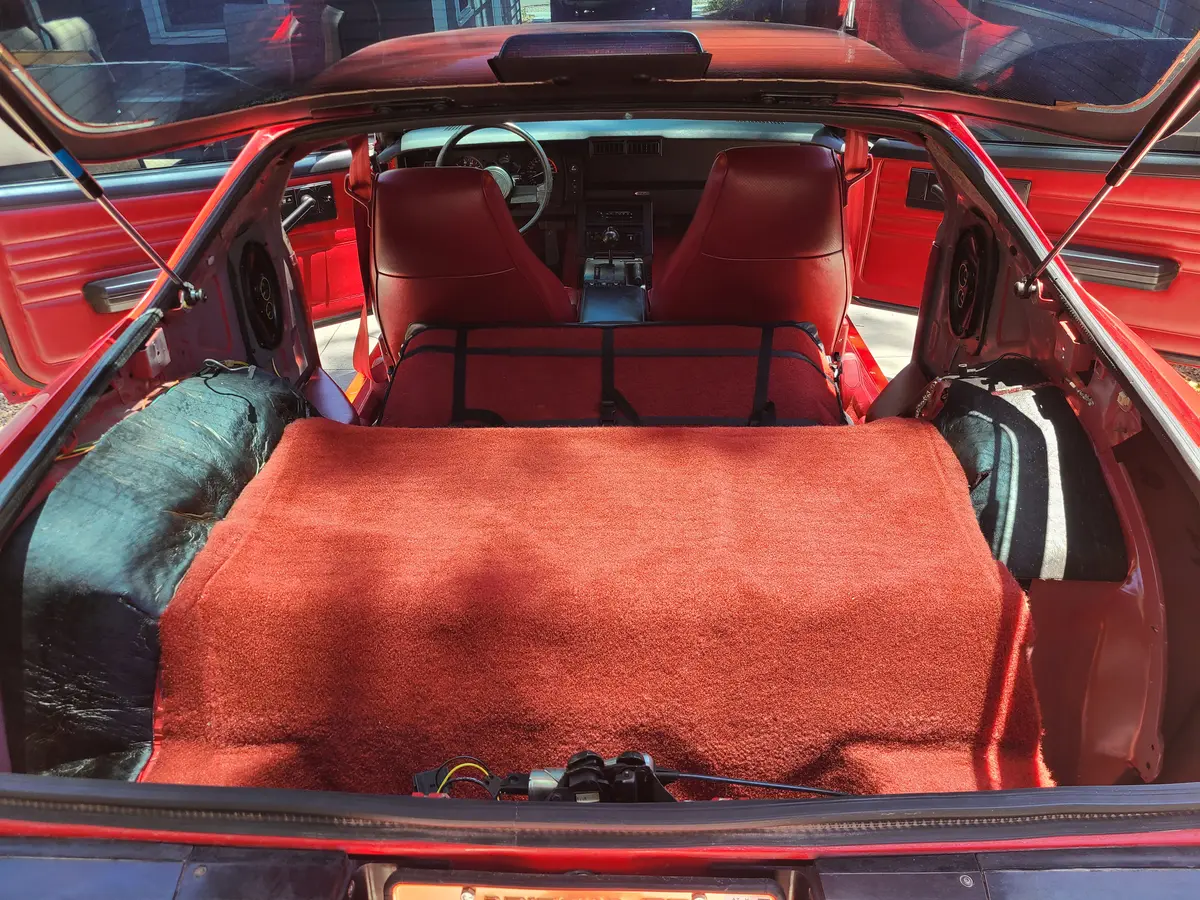
I ended up using a whopping 40sq feet of the ResoNix CLD material on everything including the walls with the 6x9 speakers. My goal was minimum 80% coverage and I absolutely surpassed that.
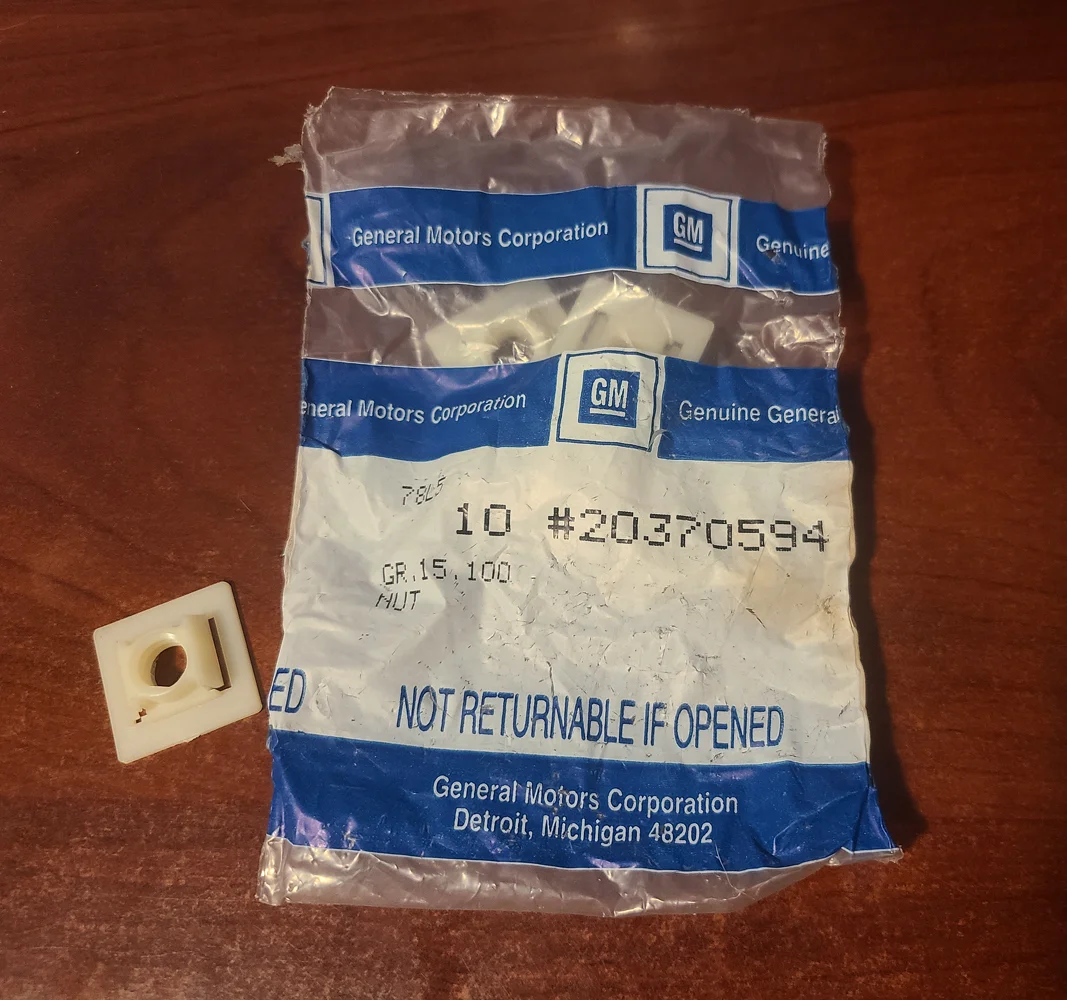
Unfortunately I broke most of the 40 year old panel retaining nuts when removing the interior pieces, which made the project take a lot longer than expected. I had to wait over 2 weeks before I could reinstall the interior while finding and ordering NOS retaining nuts. I am extremely happy with the results though!