Getting noticed
Running 2/0 AWG Power Cable: To Rear of Car

Parts used in this build
No parts listed for this build.
I've been dreading running the giant 2/0 gauge power cable from the battery in the engine compartment all the way to the rear of the car. It's always my least favorite part of any build like this.
Optima Yellow Top Battery, Sky High Car Audio Terminals And Cable
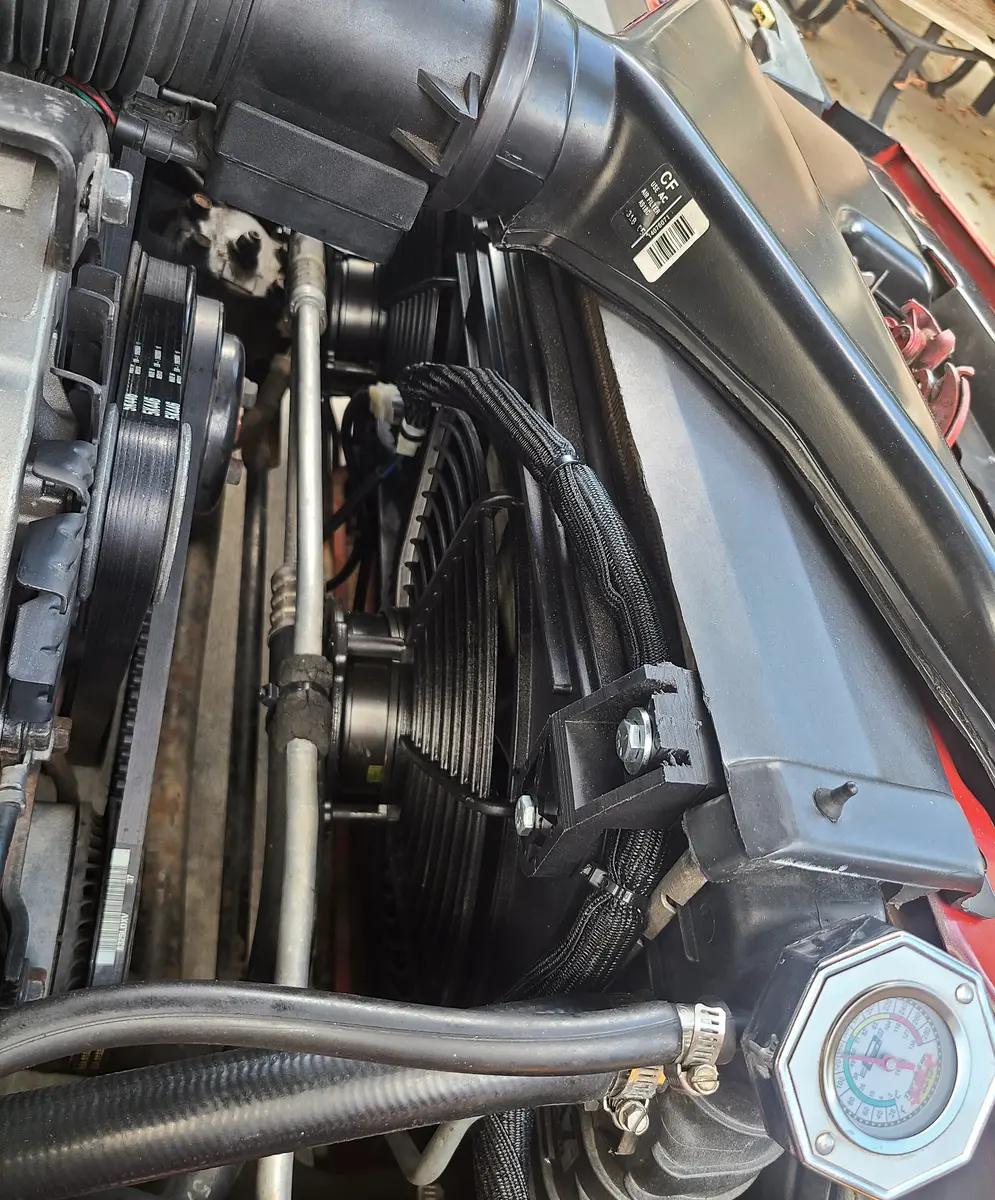
Under the hood, I put in an Optima Yellow Top battery, Sky High Car Audio cable and battery terminals (I'll add the negative later, when I upgrade the stock electrical). I've also got a full-size ANL fuse holder right there with easy access.
To Drill Or Not To Drill
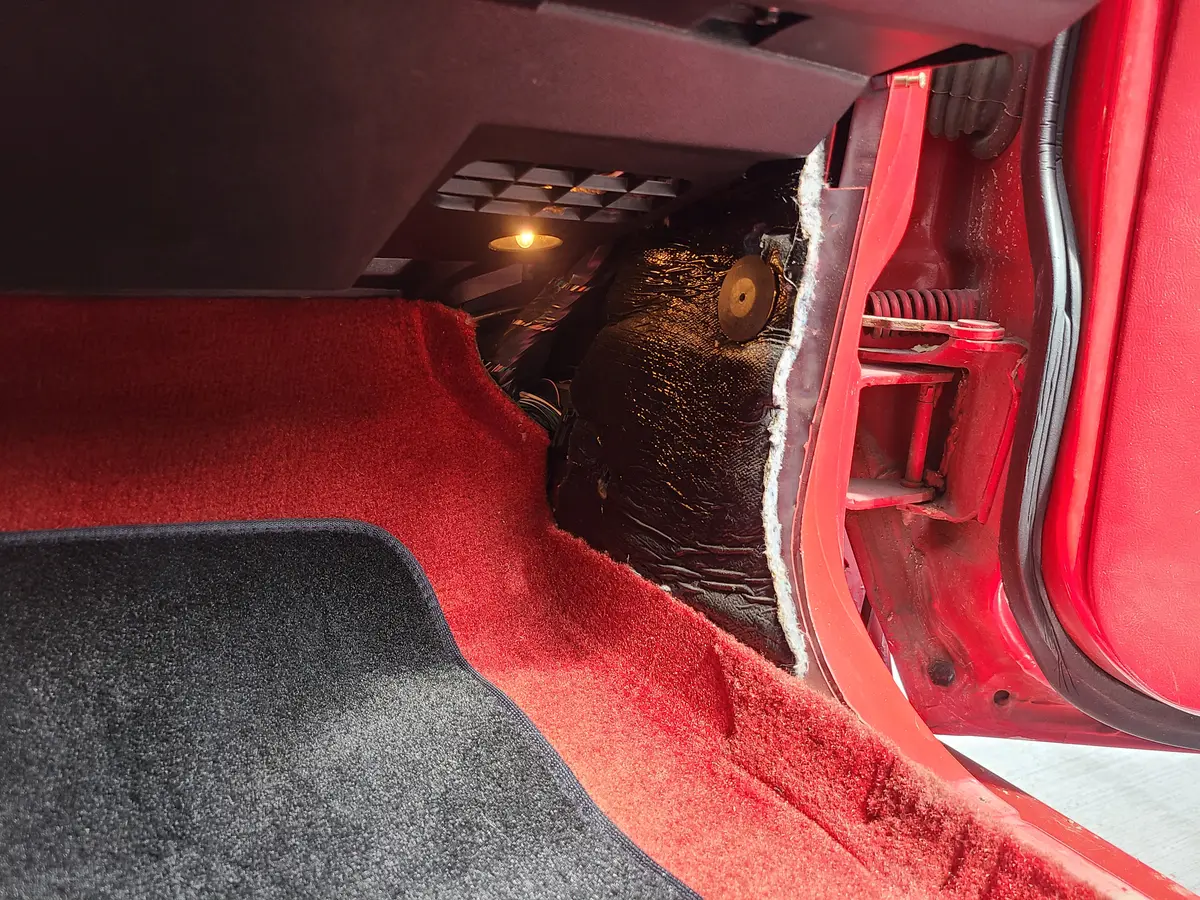
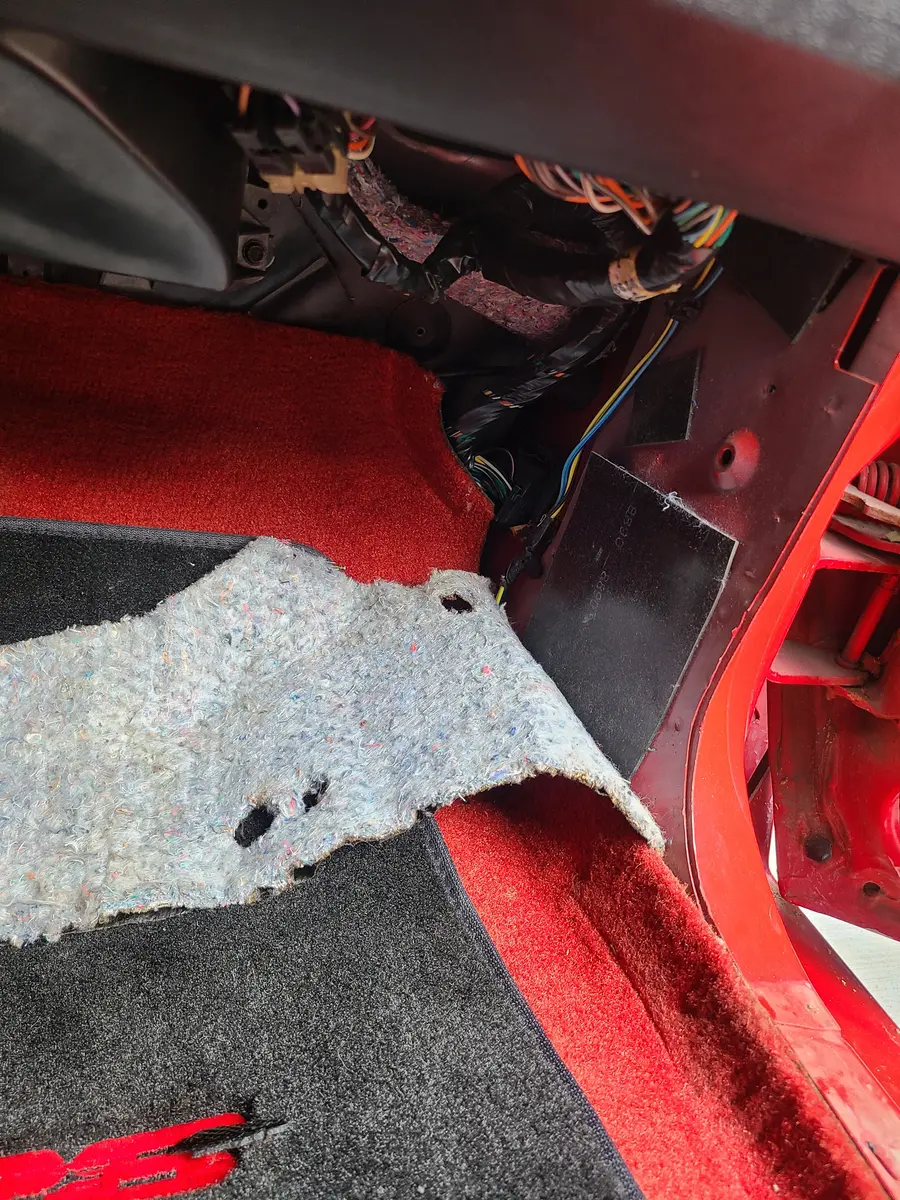
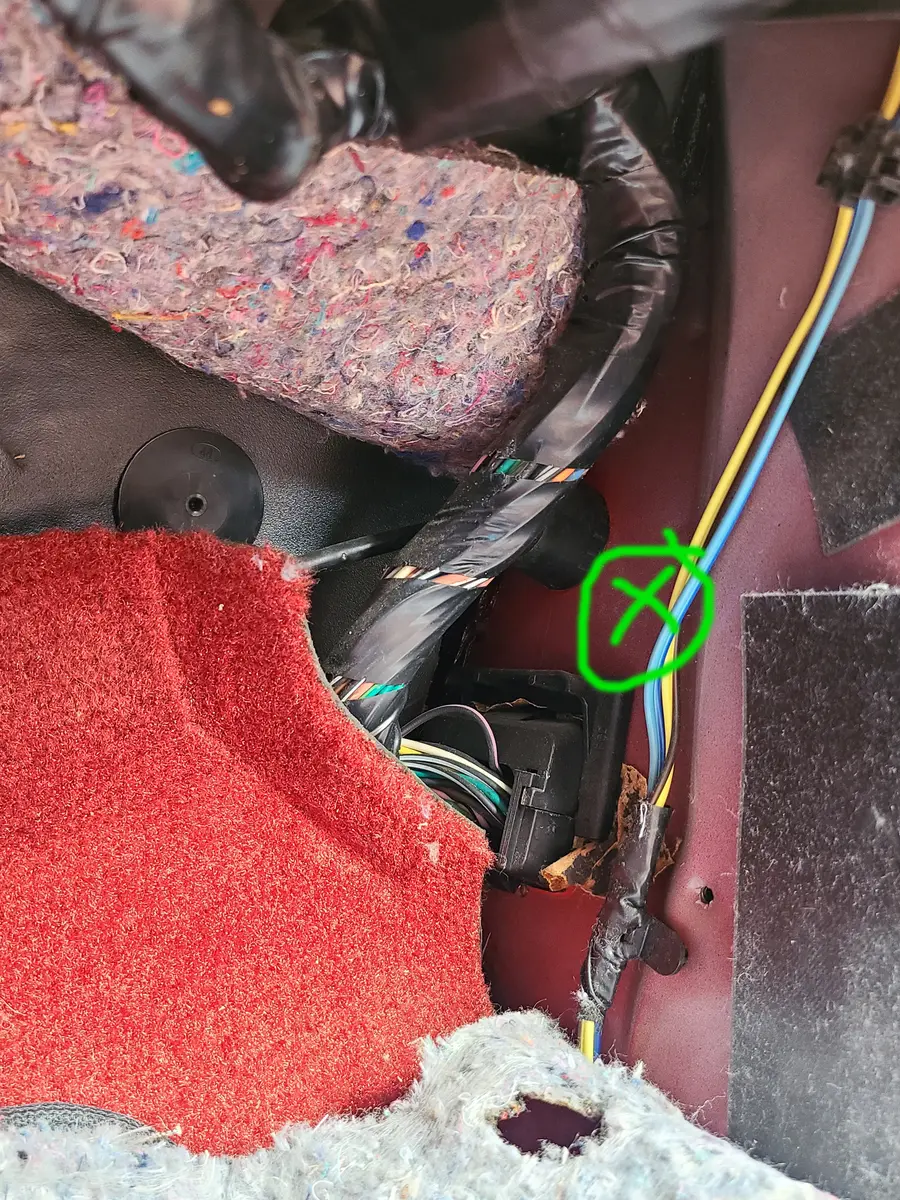
After much thought and deliberation, I decided the best option is to cut a hole on the passenger side wall (in the kick-panel area) directly next to where the antenna wire comes in through the fender. The hole has to be 1" diameter and unfortunately there was nowhere even close to that size already available within the firewall.
Removal Of Interior Trim Panels
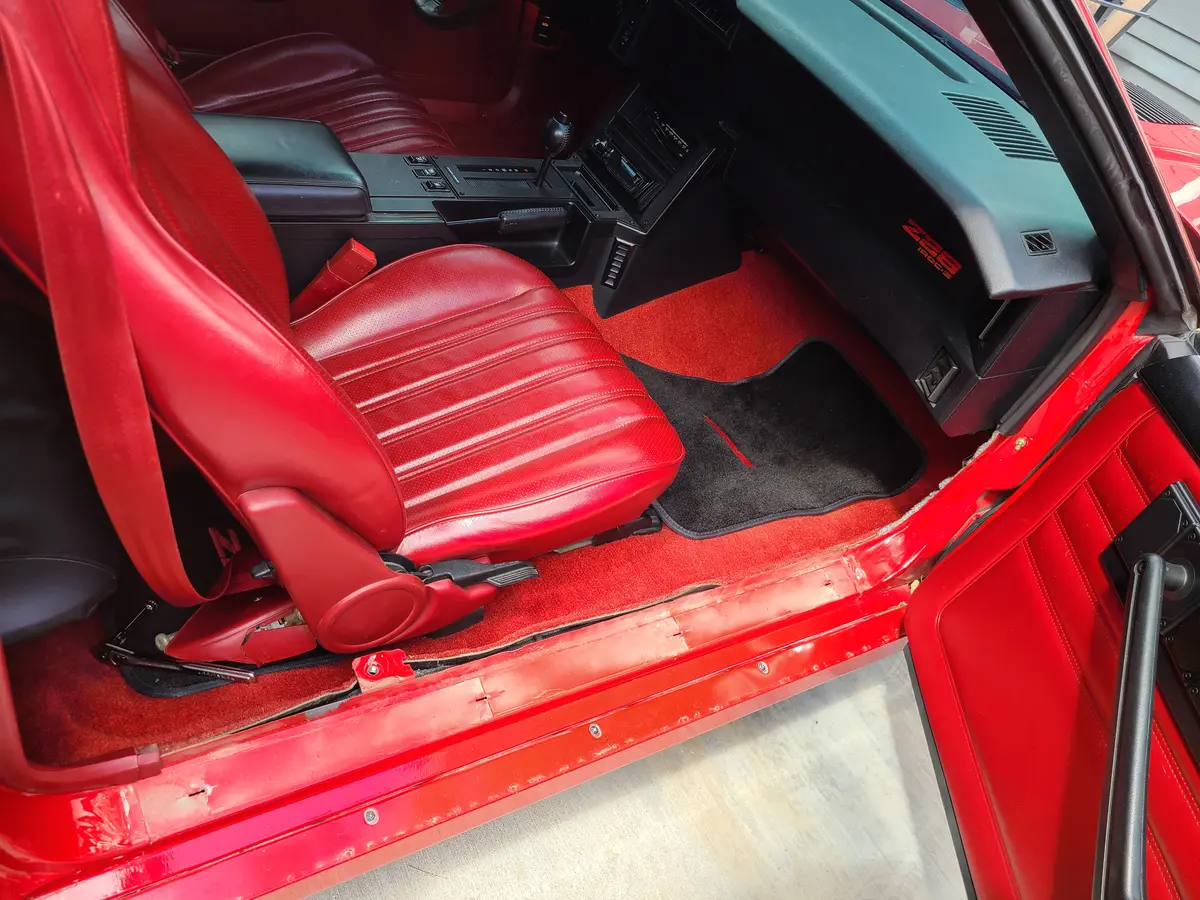
To gain access to the passenger kick panel (and preparing for running the cable all the way back), I removed all interior trim panels on the passenger side of the vehicle. This took a lot of time, as I was being meticulous to not break anything. The 40 year old interior plastics tend to be brittle in places.
Drilling The Hole, Setting The Grommet, And Fishing The Cable
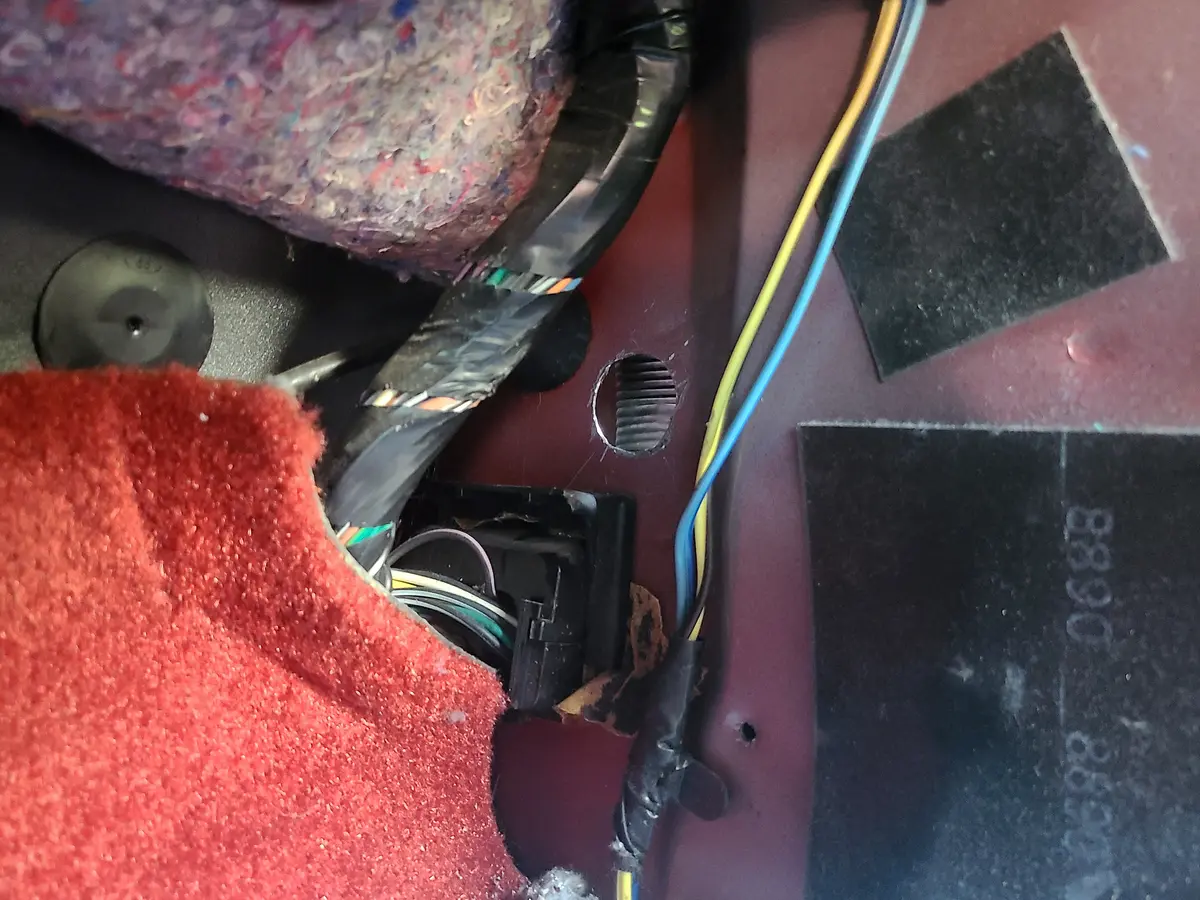
Drilling the hole went great, after identifying exactly where it was going to go. The placement on the kick panel wall made it really easy to get the drill in and out.
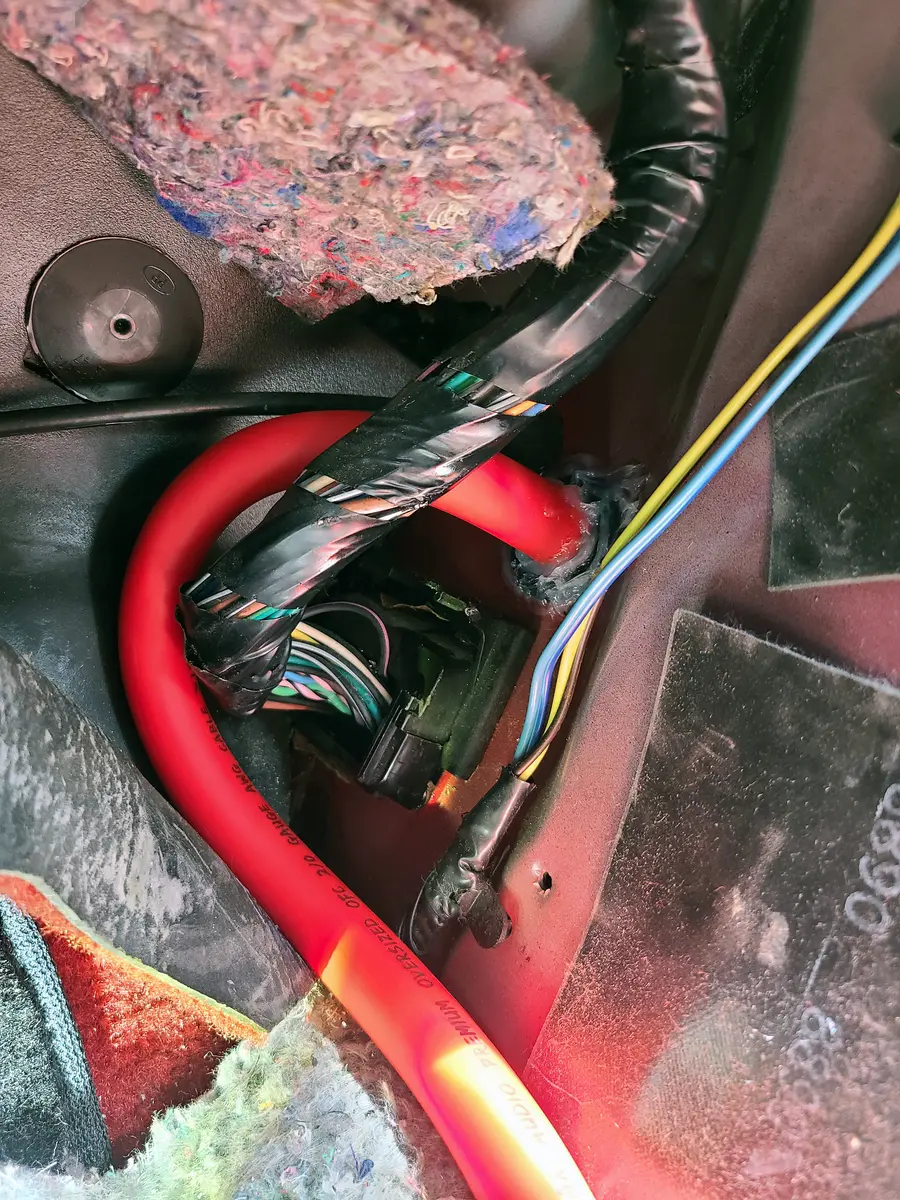
After drilling the hole, I cleaned up the sharp edges with a Dremel and put the rubber grommet in-place.
The more difficult process was actually fishing a wire from the engine bay, into the fender, and through the hole. Then, I was able to tape the power cable to the end of the wire and gently pull it through the fender area, and into the engine bay.
Hiding The Cable 100% From View
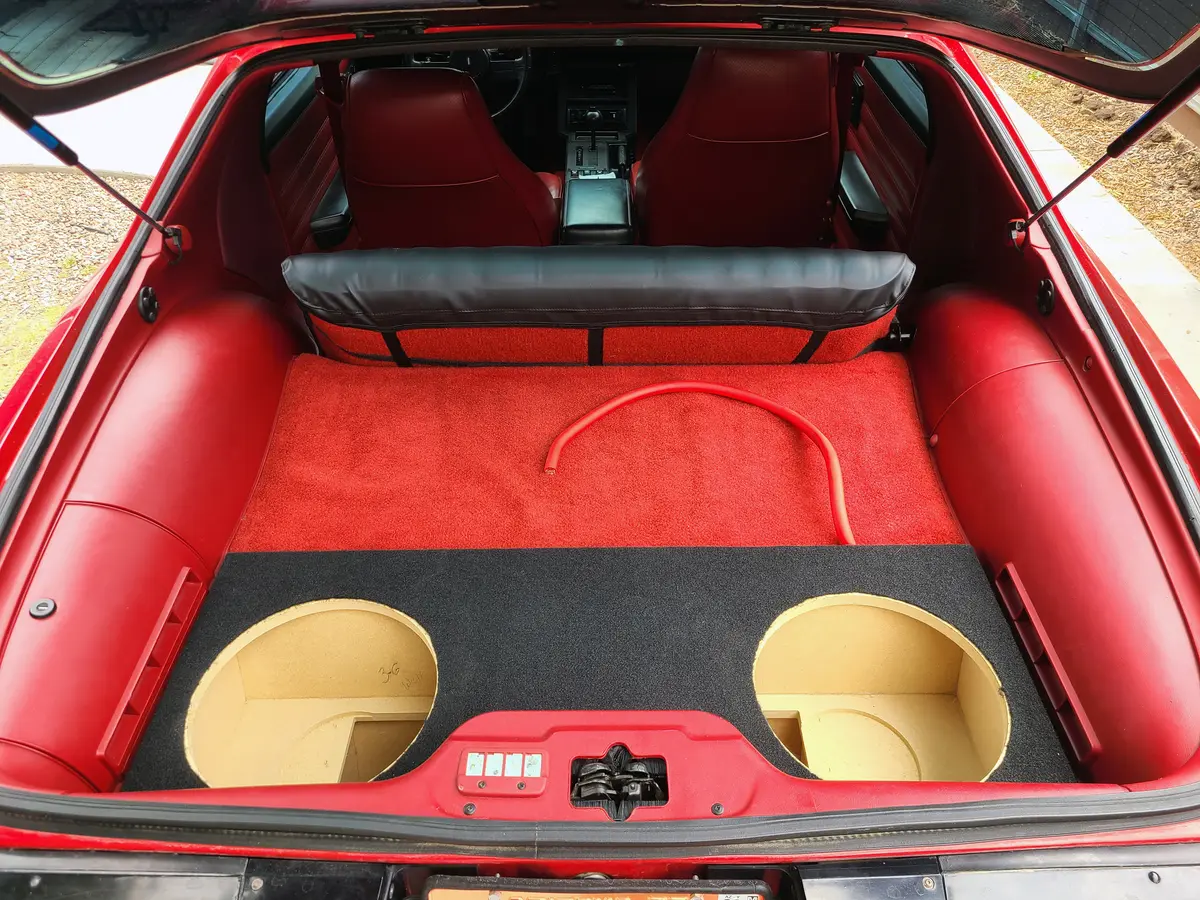
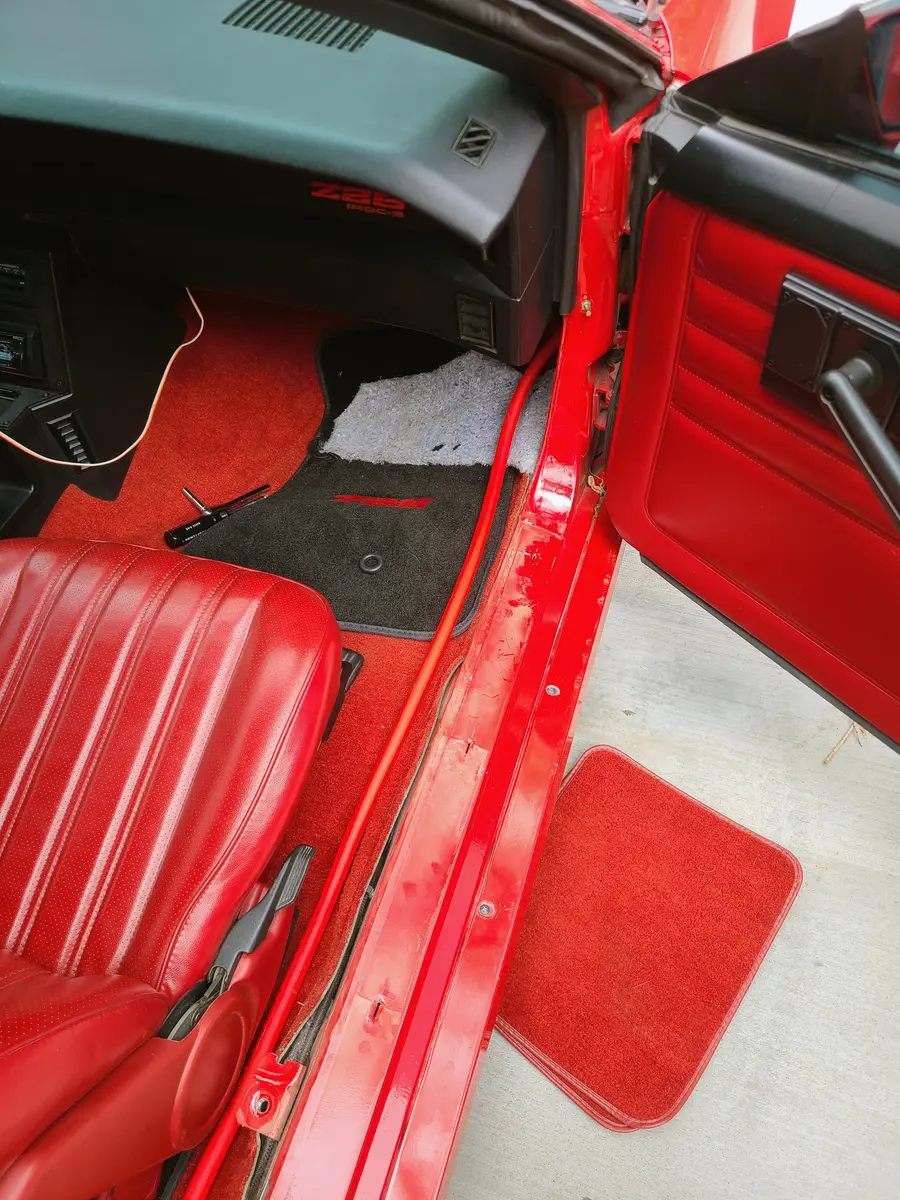
I've never ran a power cable of this size and it turns out that getting it hidden all the way to the rear of the vehicle was a serious task. I was barely able to get it arranged under the carpet, up through the side plastics, and out of the carpet in the very rear at the top of the well hump.