 On the radar
Amplifier Rack: Part 2

Parts used in this build series
No parts listed for this build.
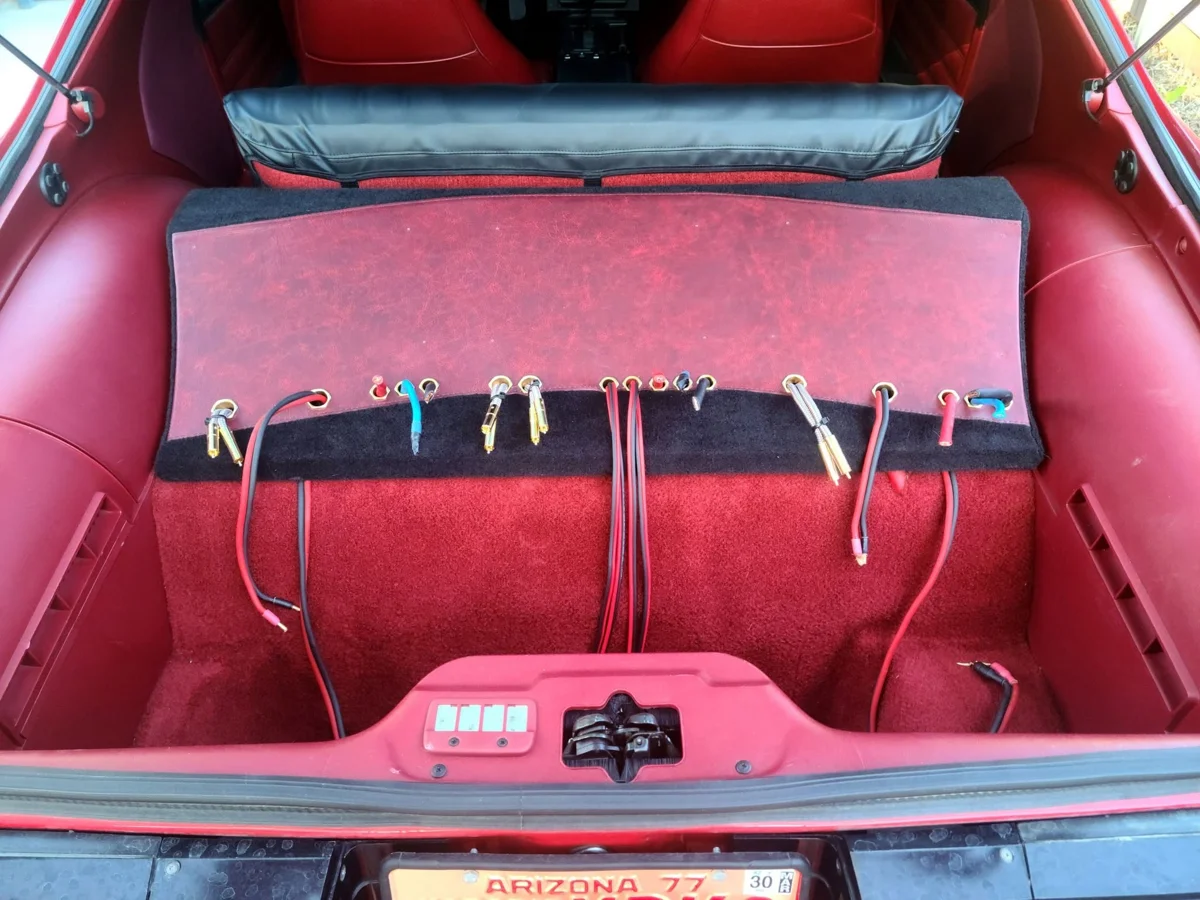
I am thrilled to be working on the amplifier rack again, as I really had to pause it while I finished all the wiring in the Camaro. I am so OCD about everything being absolutely perfect, that this part of the project took me days to complete. However, as hoped, the results are fantastic.
Mocking Up The Final Layout
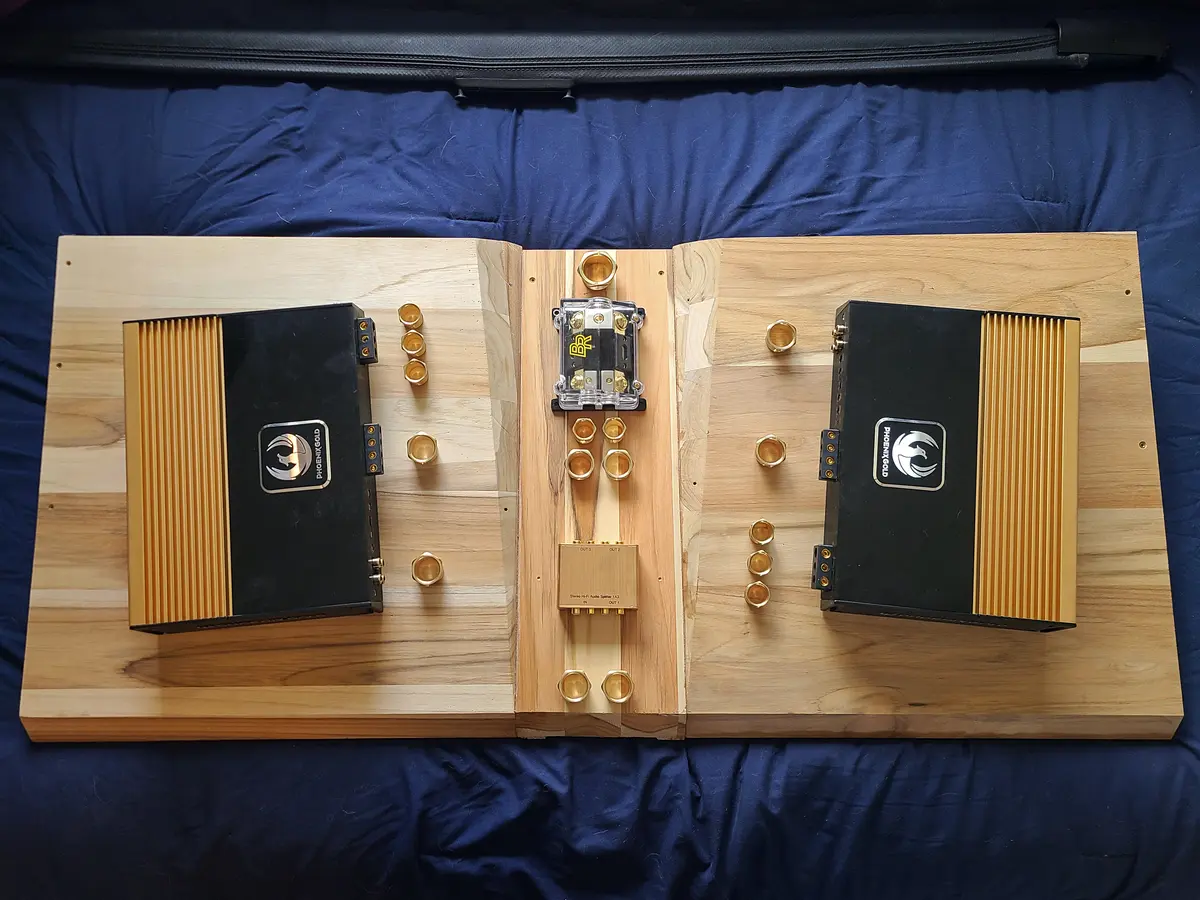
I laid everything out and decided on the final layout. This is the very first time I have had everything on the rack (along with cables as needed) and HOLY CRAP my RCA cable connectors are long! I knew they were going to be tricky to work with but it was far more extreme once I actually laid it all out. You all don't get to actually see that yet, but trust me when I say there is going to be a lot of gold RCAs laid out on the rack and it's going to look amazing.
Drilling Holes And Setting Threaded Inserts
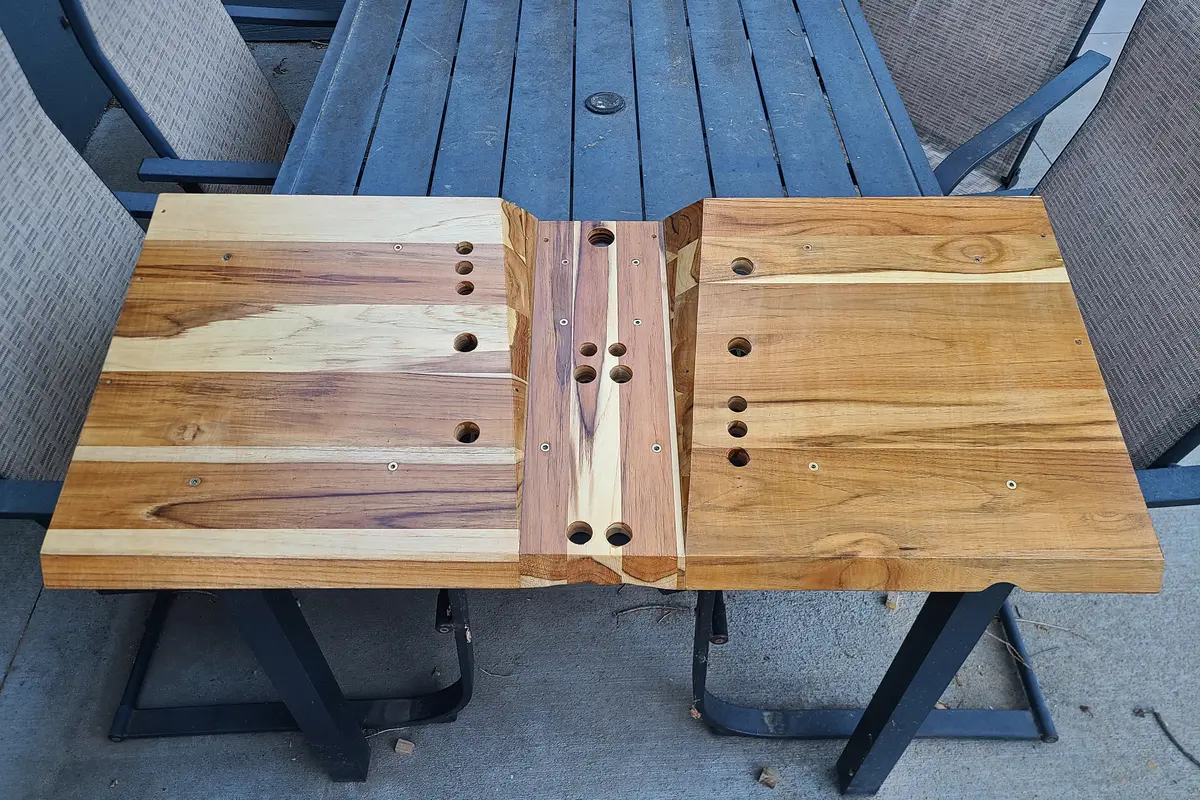
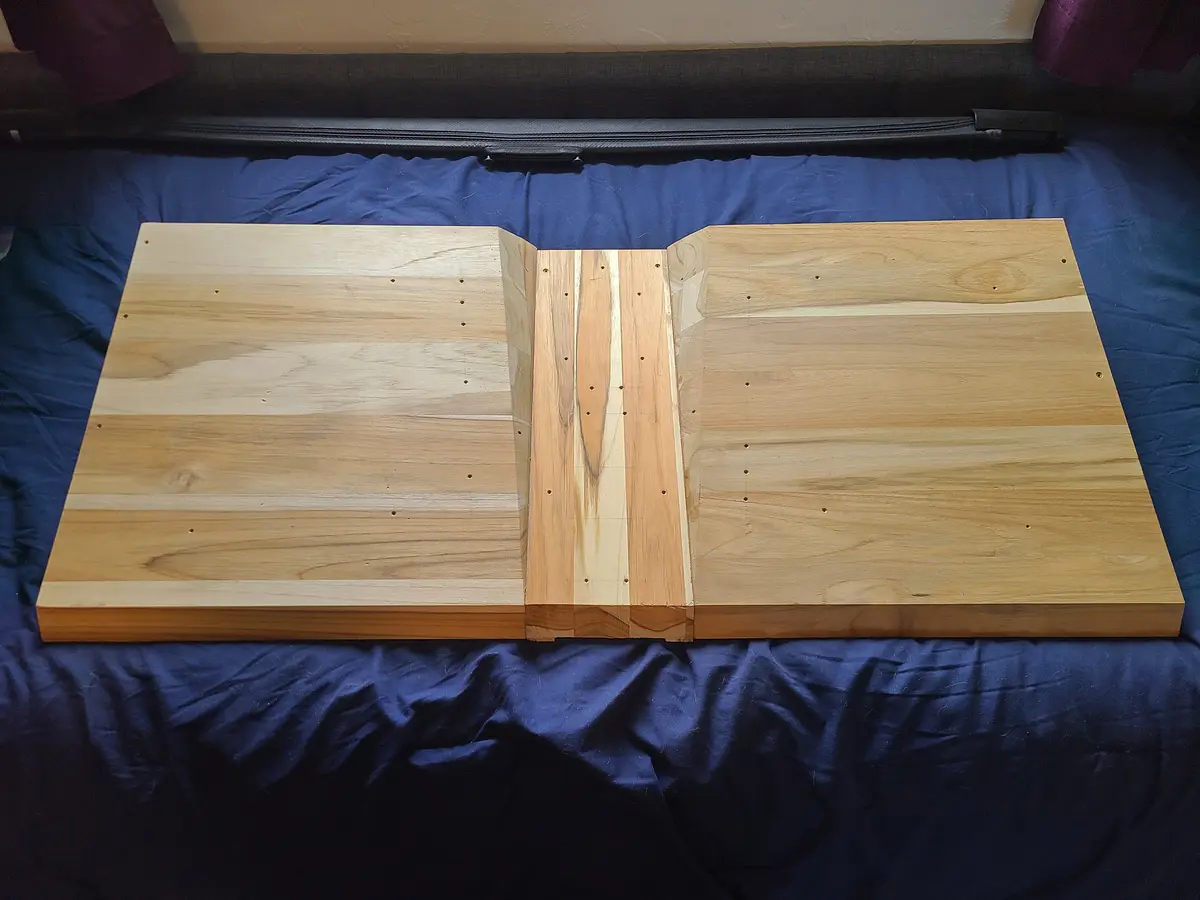
After marking all of my mounting points and hole locations with center punches, I used a drill guide/jig to keep my holes at a perfect 90 degree angle and went to town. All of the threaded insert holes are only as long as the inserts, so they do not go all the way through the rack. I also counter-sunk those a bit for the inserts.
After all of the holes were completed, I went ahead and installed all of the threaded inserts using epoxy so they are rock-solid.
Cutting Material From Underside (For Wiring) And Sealing
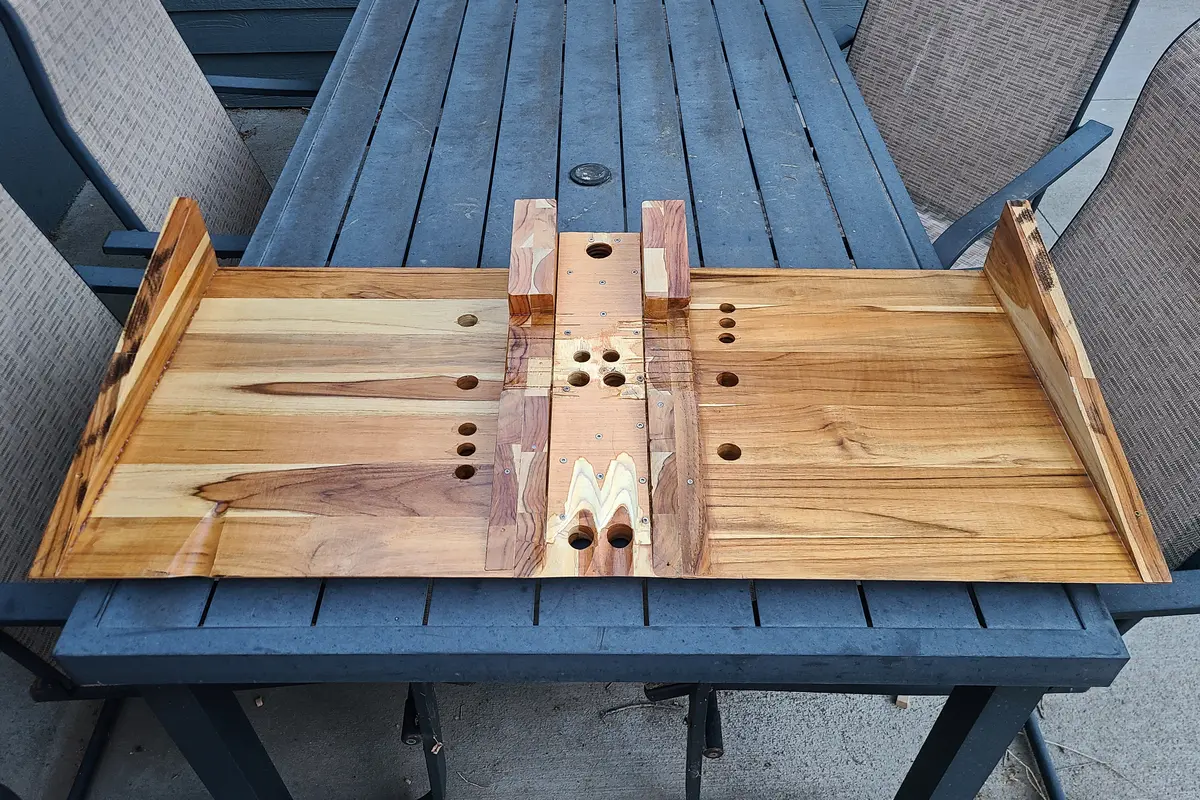
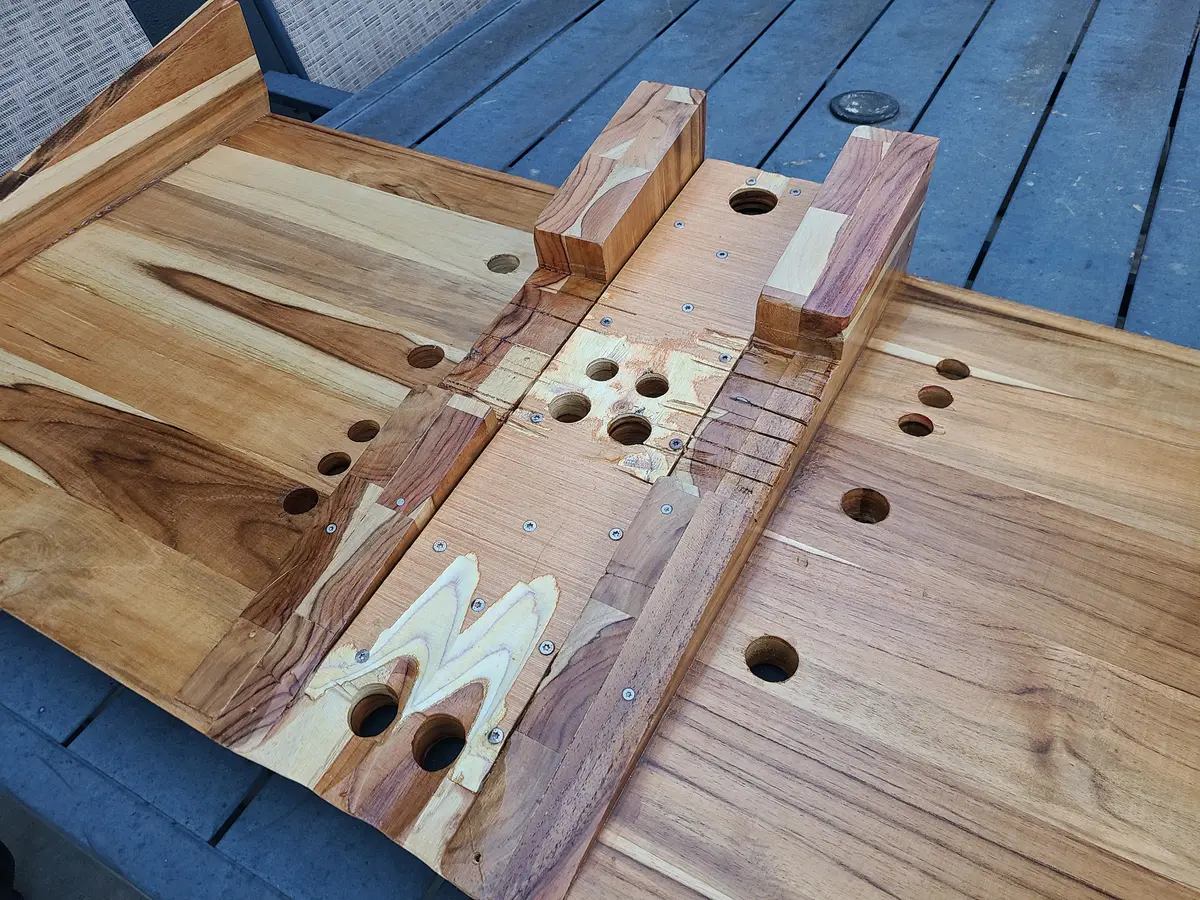
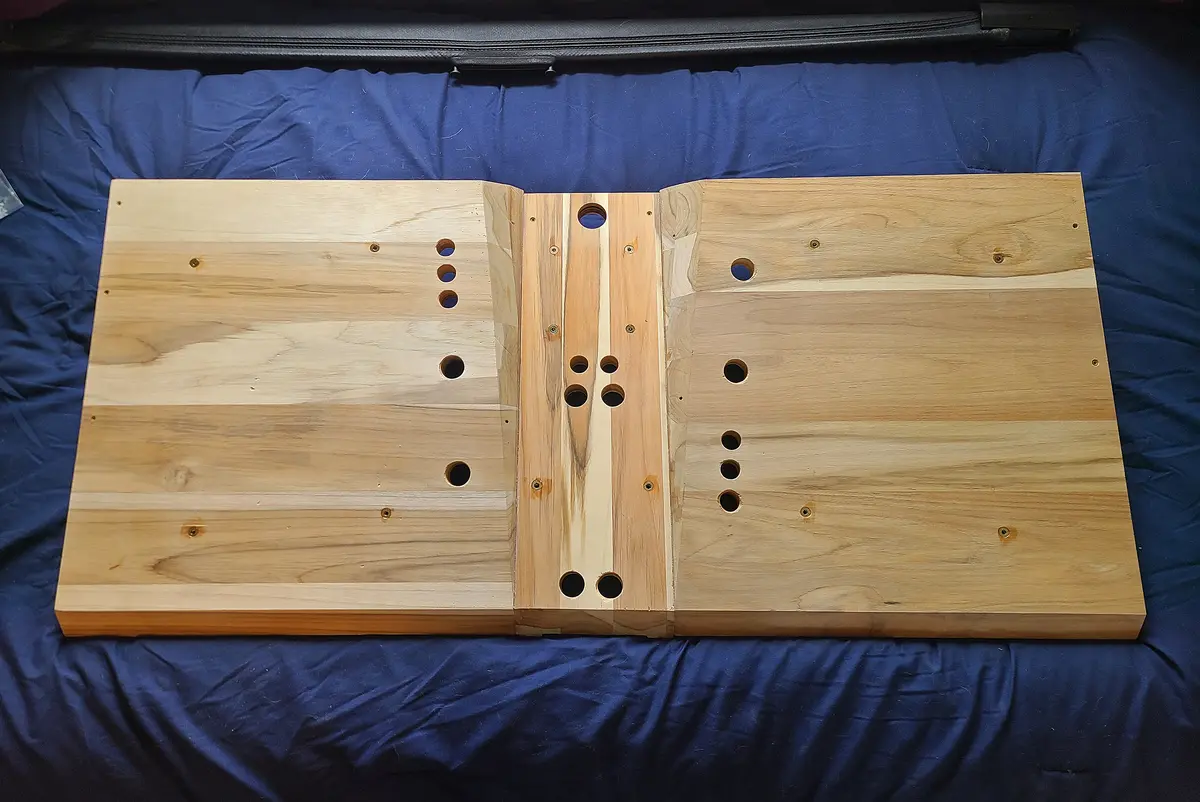
I removed a large chunk of material from both sides of the center section (see image of underside) in order to allow the routing of cabling, and molded a few areas as well. Afterwards I sealed the entire thing with 3 coats of polyurethane in preparation for carpeting and final assembly.
Matching Gold-Plated Titanium Mounting Hardware
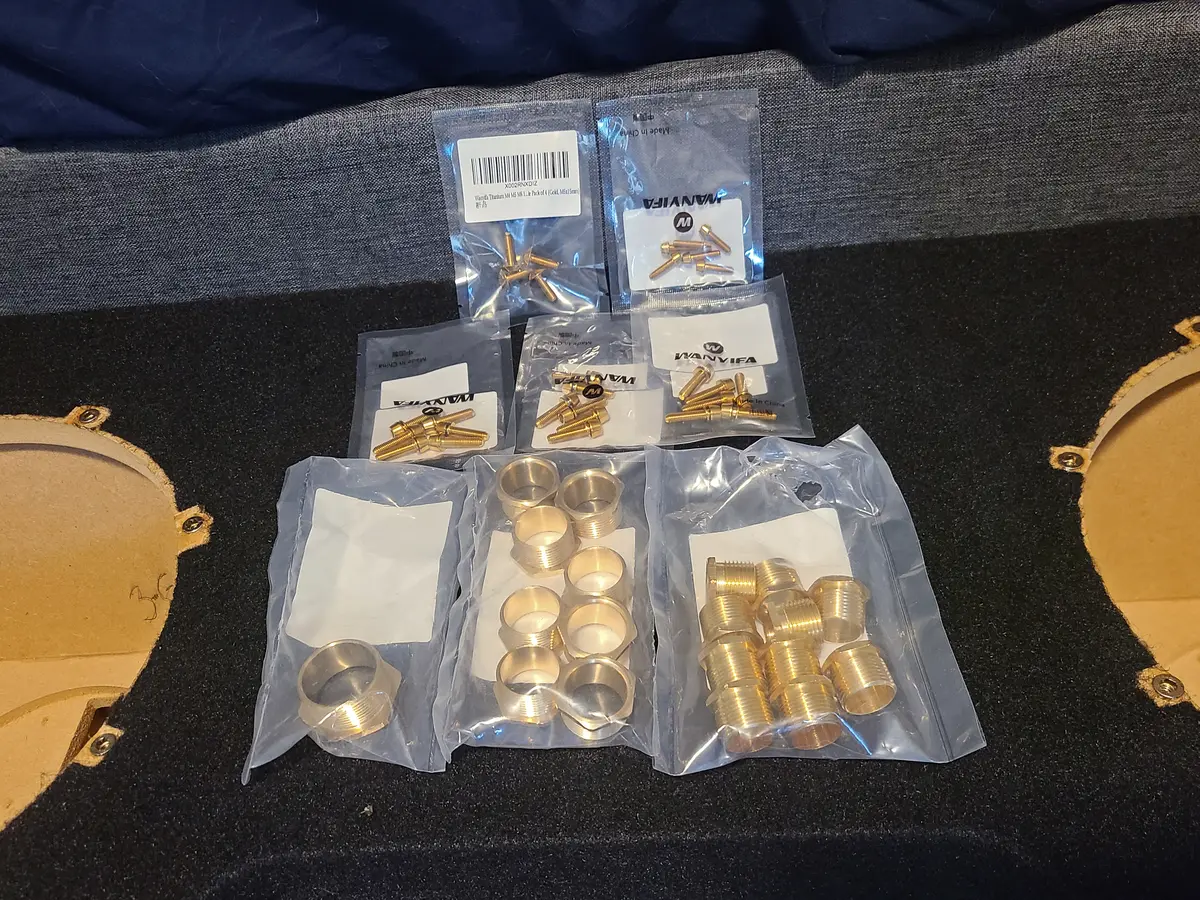
I collected some really nice matching mounting hardware for everything on the rack (and subs). It's all gold-plated titanium and I took great care to size everything precisely.
Polished Brass Bushes From Europe
All of the polished brass bushes were sourced from Europe. I didn't know what I was looking for when I started the project, but I knew I wanted some type of brass/gold wire passthroughs for the rack. Literally 50+ hours of searching later, I found exactly what I had in my mind… These are beautifully machined “bushes” and they were apparently used in really old (early 1900's) buildings in Europe in their electrical boxes.
They are perfectly smooth on the inside, have a thick wall, threading on the outside, and have a nice flange for hex drive that also has rounded corners.
Bushes are not something that is used anywhere in the USA and cannot be found from any distributor. I ended up finding a company that produces them in Europe, and custom-ordered the exact sizes I needed for the project.