 On the radar
Amplifier Rack: Part 1

Parts used in this build series
No parts listed for this build.
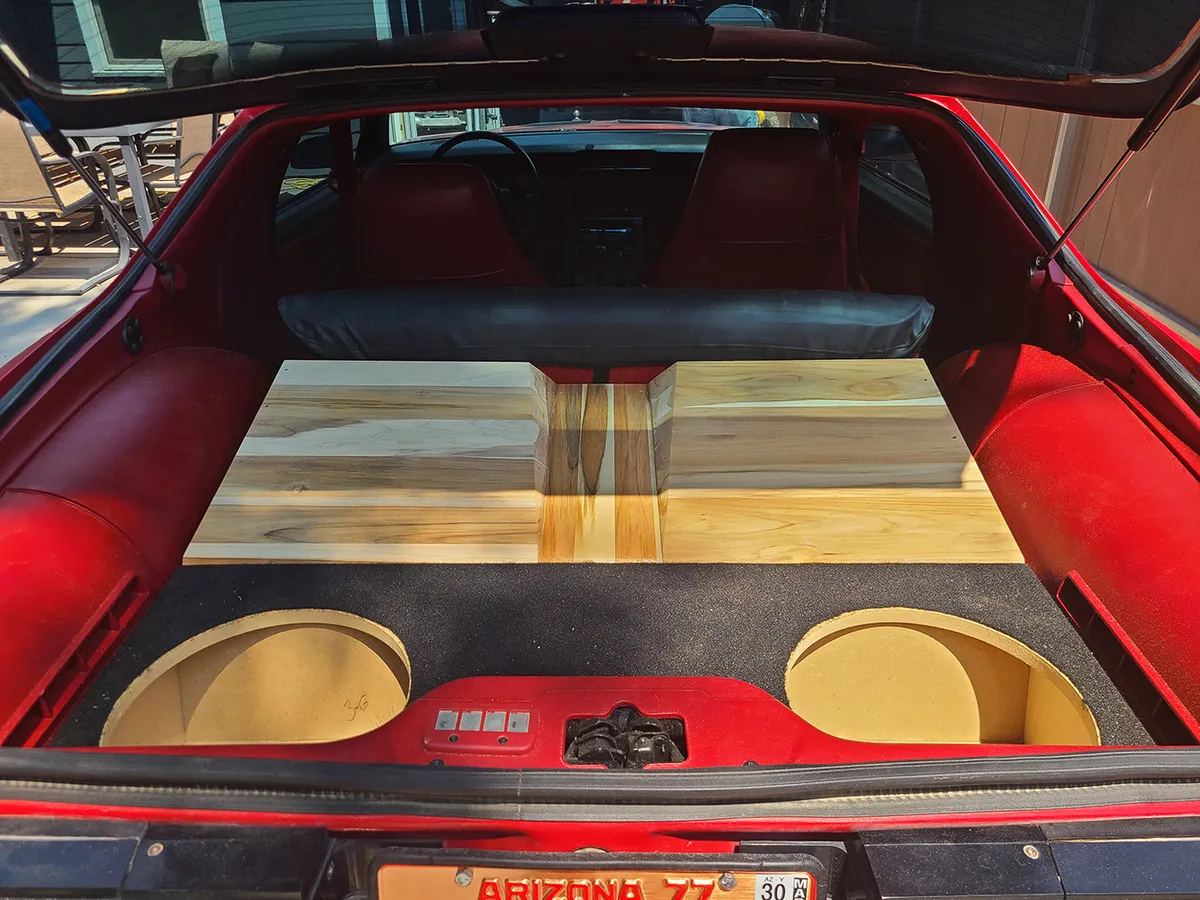
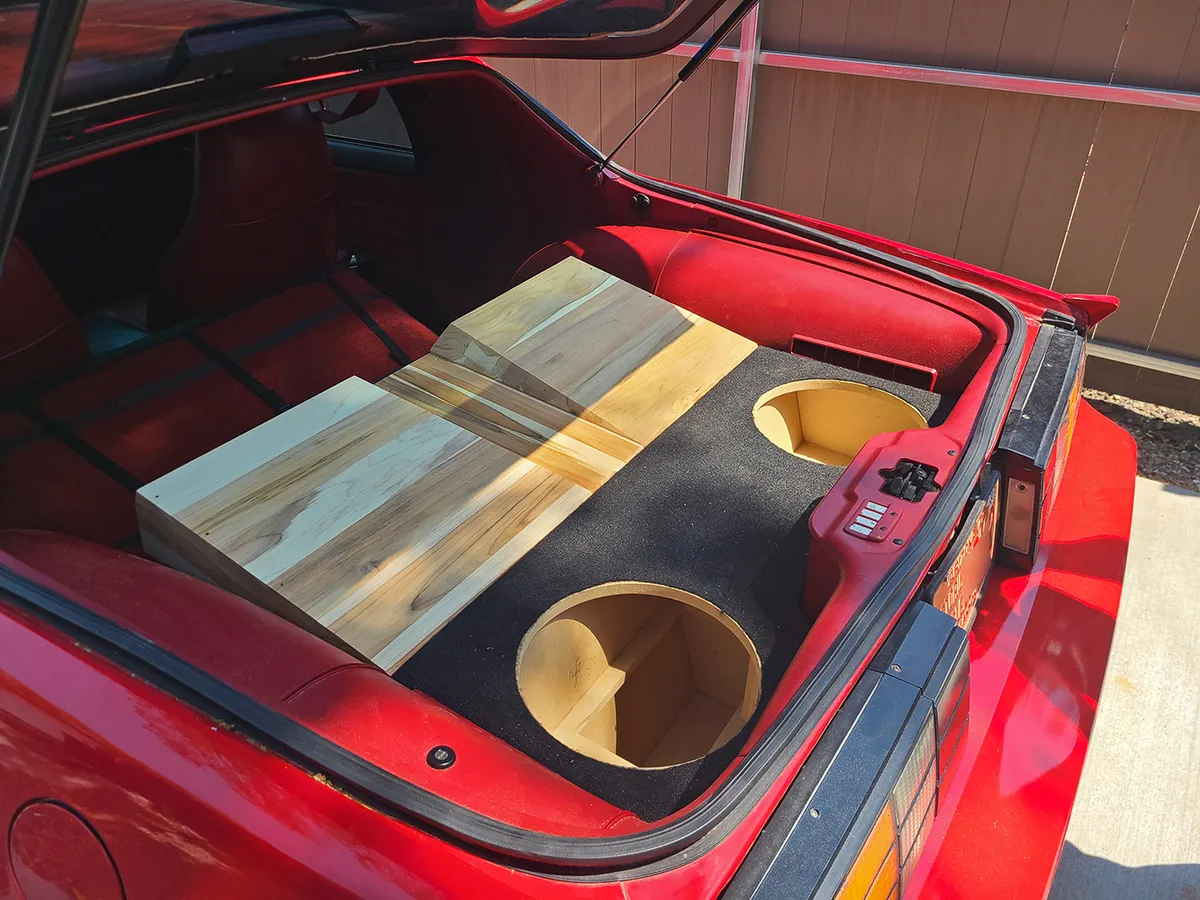
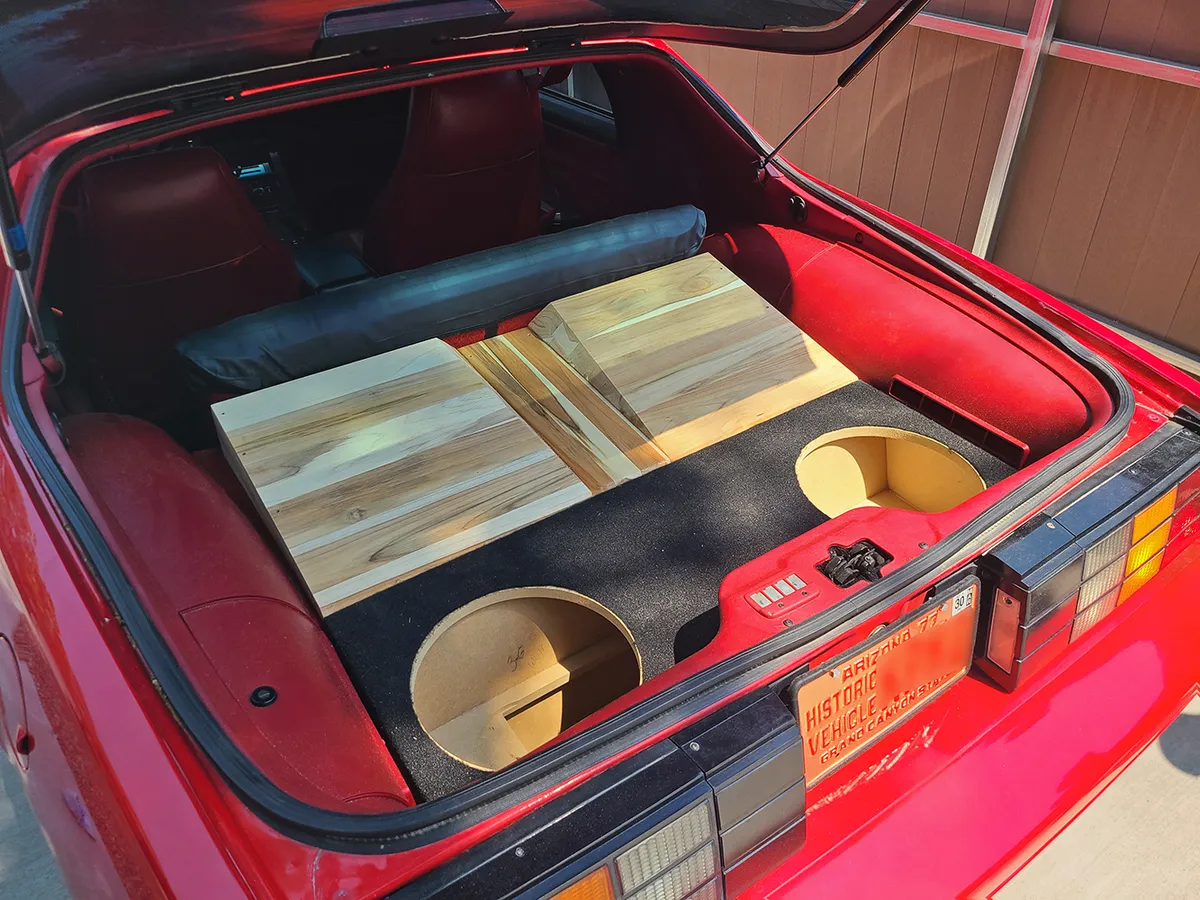
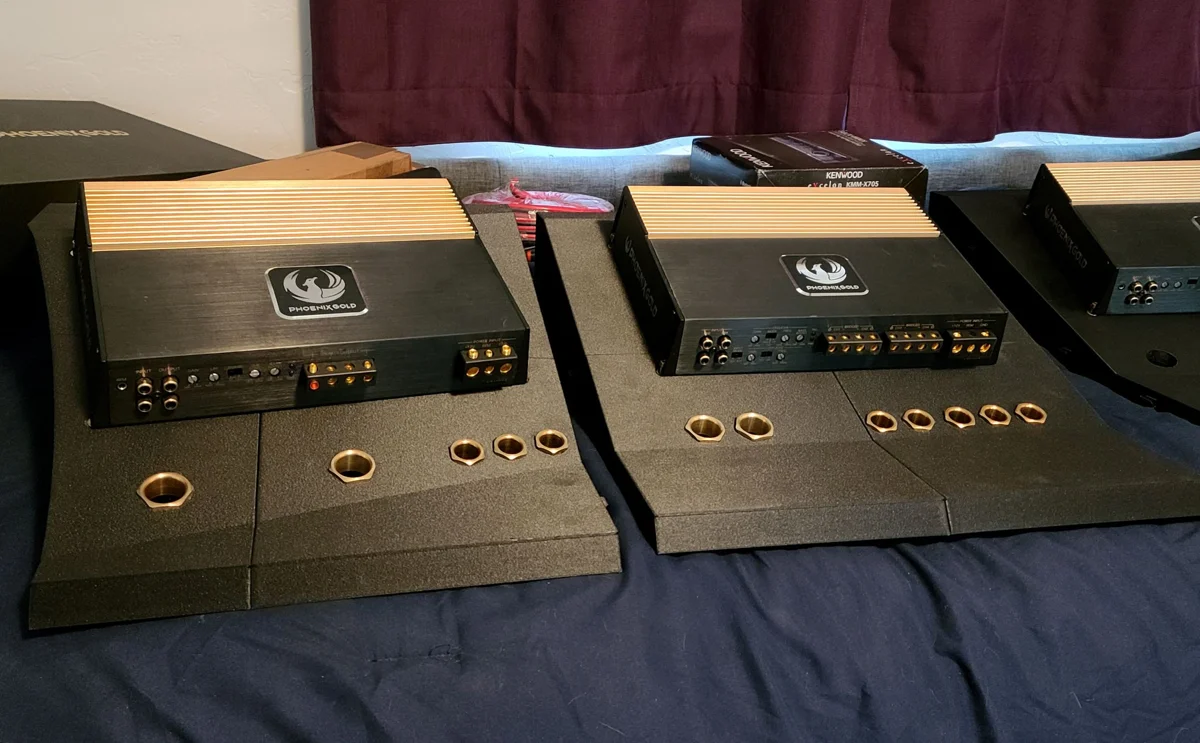
The amplifier rack for the audio system will showcase all of the electronics and also organize/hide all of the wiring. I didn't want to build just a simple wedge because I had this idea of having a tiered-style rack for more angles and visual design elements.
Heavy-Duty Materials Used
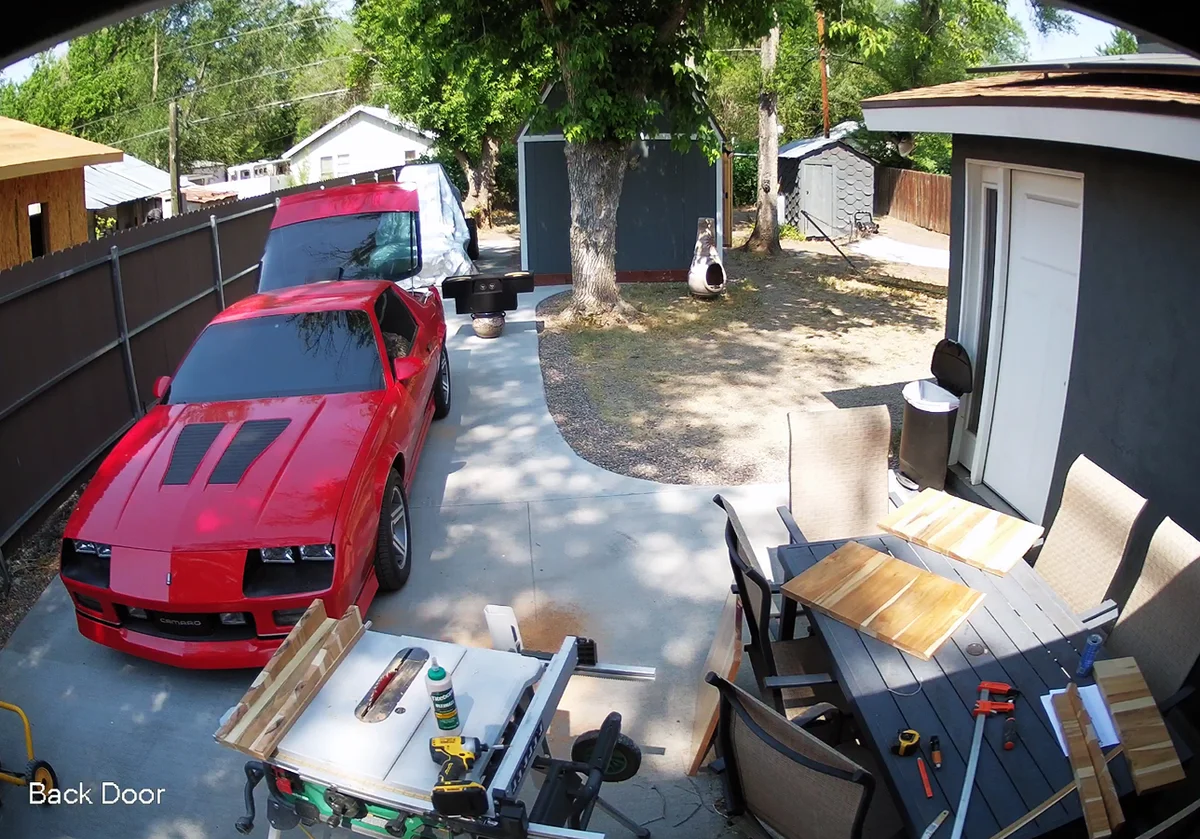
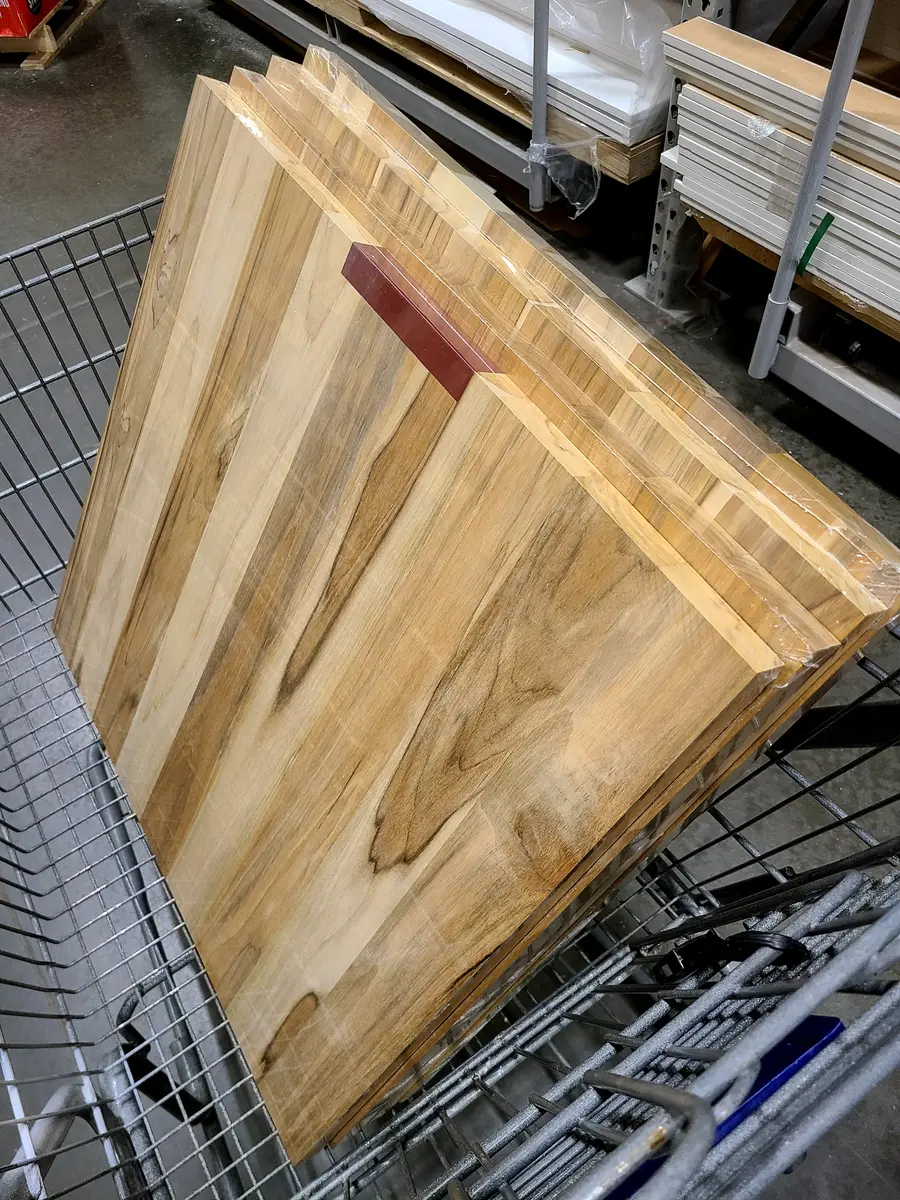
The rack was built using 1" thick teak as the primary material. This was for two reasons:
- Very Dense Material = Less Vibrations / Resonance
- Extremely Strong, Holds Weight Without Bowing or Warping
Creative, Hand-Cut Visual Angles
One of the most intricate parts of the amplifier rack are the angles on either side of the center platform. The overall simple and elegant look of the final product is deceivingly complex.
Those angles start at the exact connection point between boards on one end with essentially zero angle. Then, it follows a 45-degree cut, getting progressively deeper, while still following the connection point of the center platform all the way to the other end. This was accomplished by hand-cutting those angles very carefully.
Coming Up: The Remaining Steps
Next will be mocking up where everything will be mounting, drilling and setting threaded inserts, drilling and setting all the brass wire passthroughs, sealing it all up, and then carpeting it black.