 On the radar
Taillight restoration and LED conversion - Part 5
Parts used in this build
No parts listed for this build.
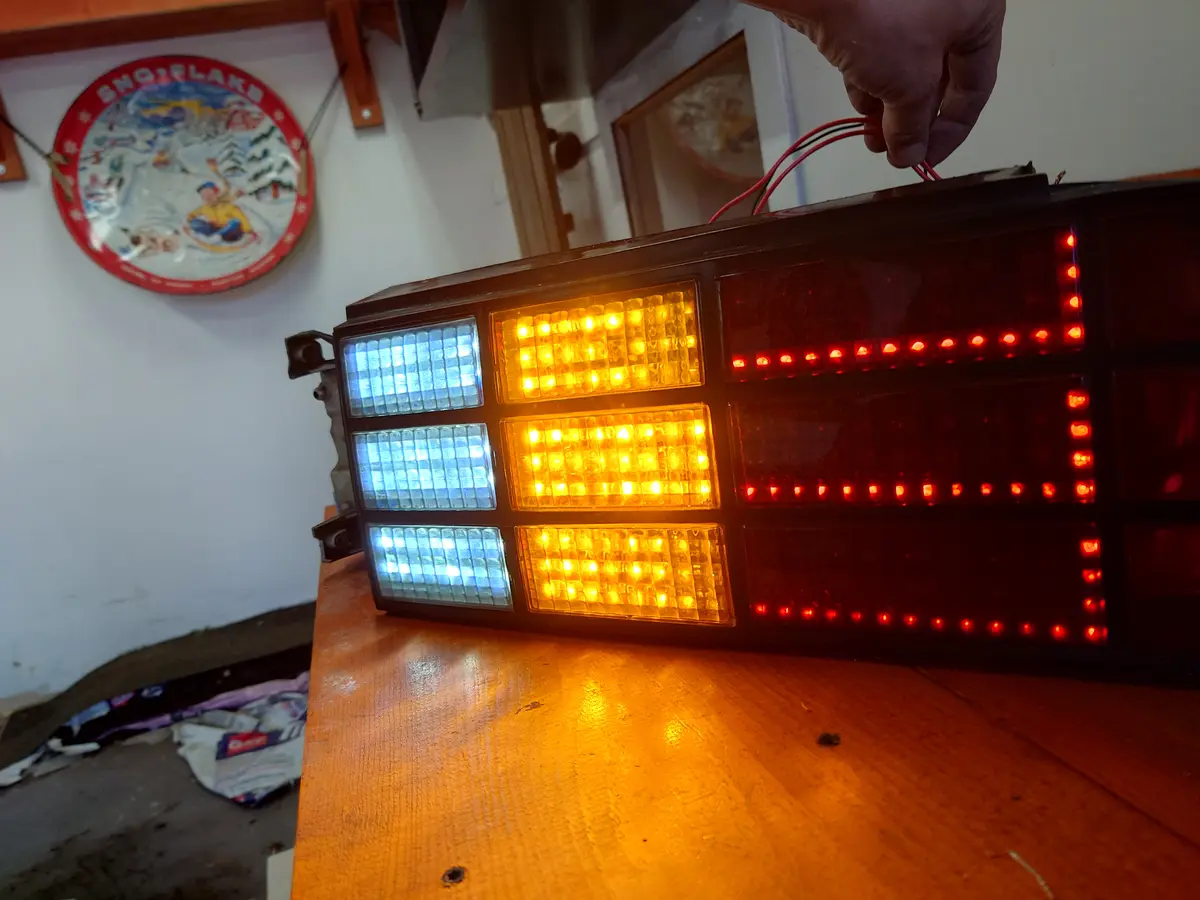
Well I'm getting closer to being done with this project. I was able to get all the LEDs for both sides soldered onto the perf boards, and everything seems to work.
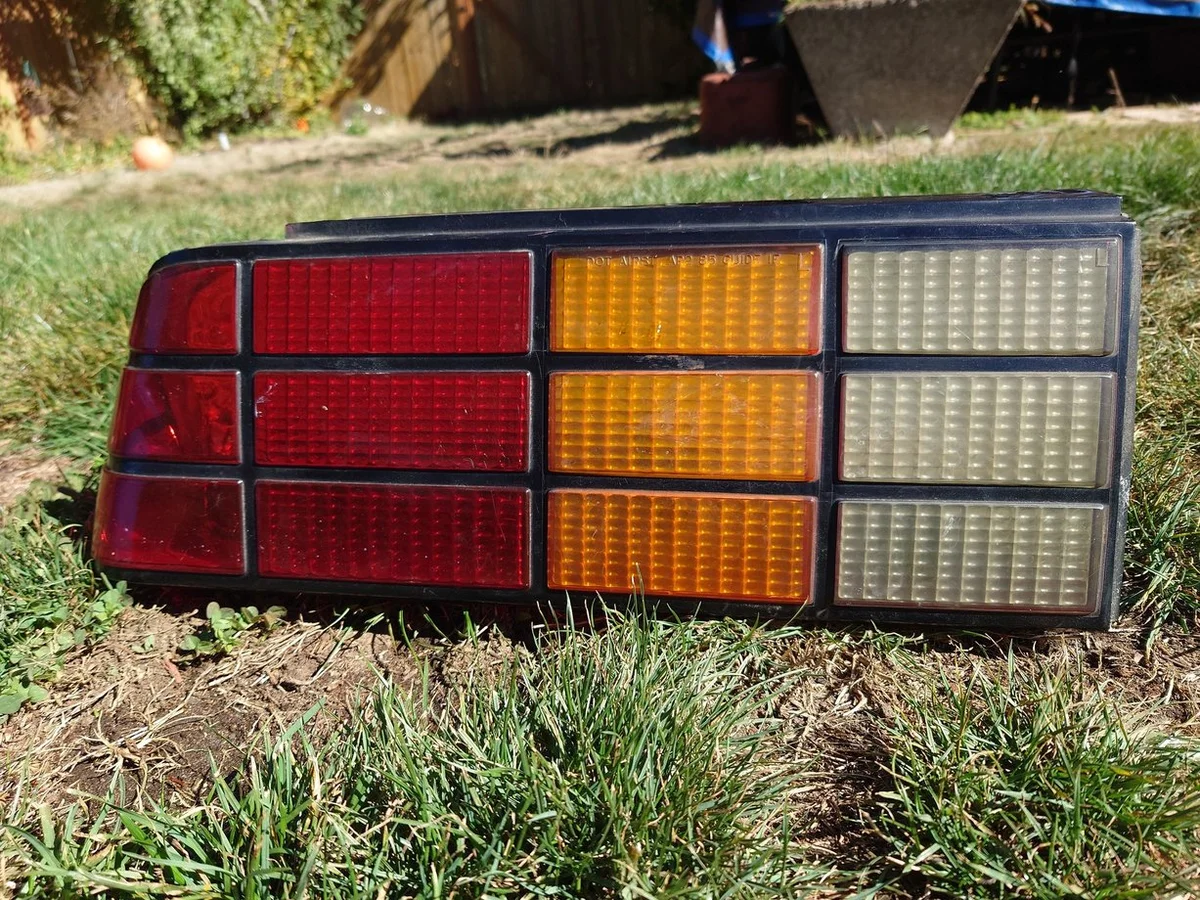
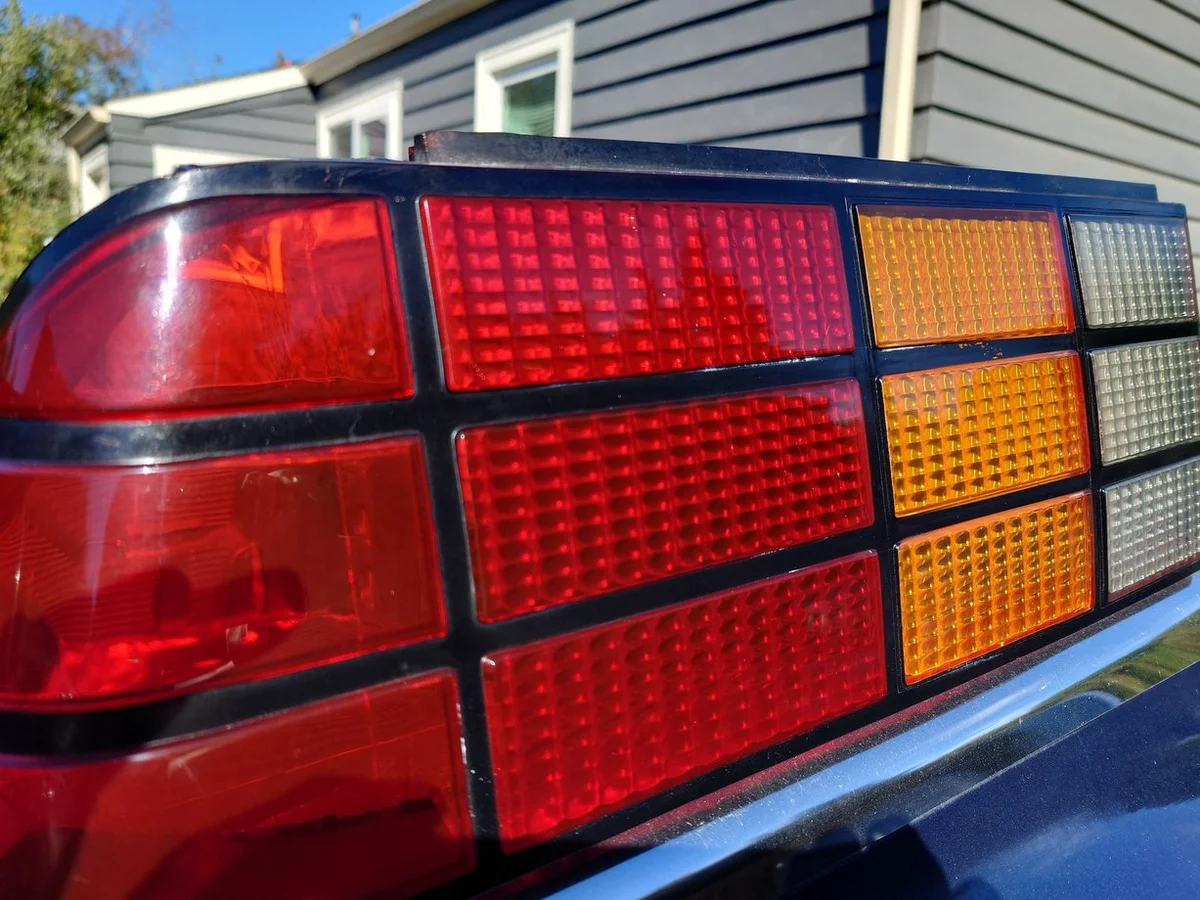
Today, I proceeded to wet sand and then polish. I've got them pretty glossy now and look much better than when I first got them. I think I'm going to repaint the black grid lines in a gloss black. I noticed there are some paint missing anyways, so going to make these look brand new if I can.
Still need to mount these in the housing, not sure what to use yet. When I did my original set I used epoxy, but that makes it pretty permanent. So if something goes wrong, hard to remove and fix. So not sure what to use to secure these yet. Any ideas?
Here they are in action
https://youtube.com/shorts/takrL-UnLBE
UPDATE: So after all this work, I decided it wasn't quite the look I was going for. So I scrapped everything and started over, and I'm glad I did because they turned out way better, check out version 2.1a-final-final-final. The sequential circuit much simpler and better, and the brake/tail are much brighter.