 On the radar
Headlight restoration - Cerakote review

Parts used in this build
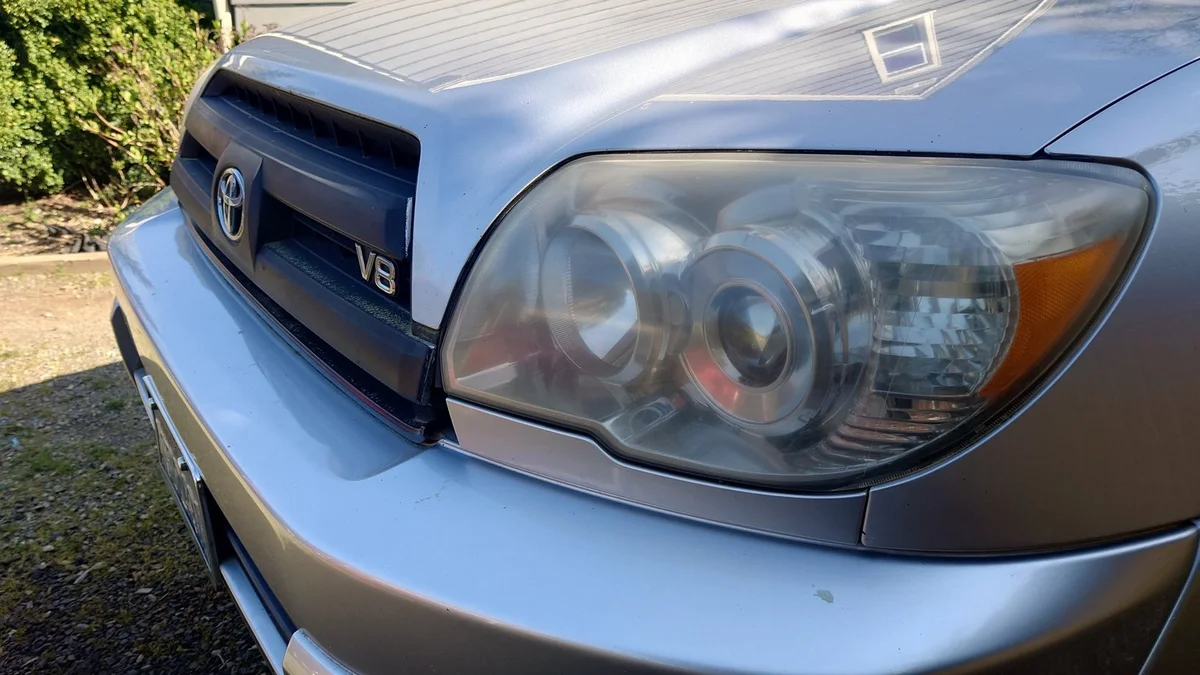
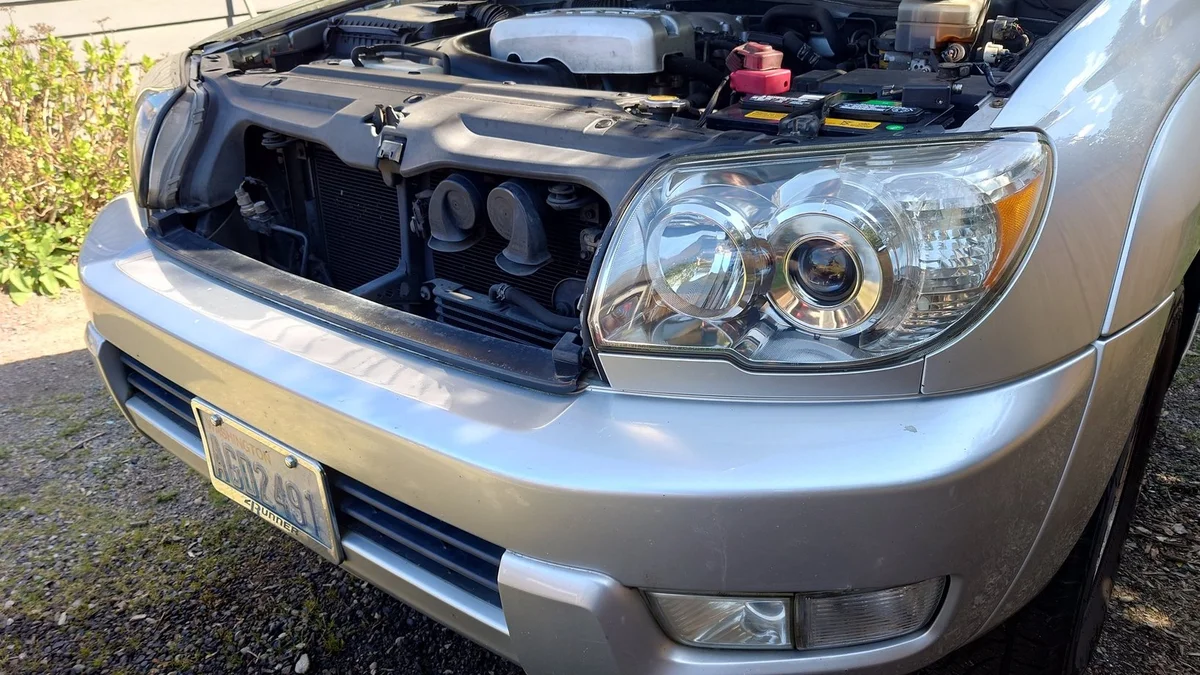
So with the 4Runner sitting outside year round, the headlights were getting pretty oxidized. Every Summer I would polish them with the buffer and get them looking good, but they would haze up within a couple months.
This time, I'm trying to do a better job and did some research and saw many people recommend the CERAKOTE Ceramic Headlight restoration kit. So decided to give it a shot.
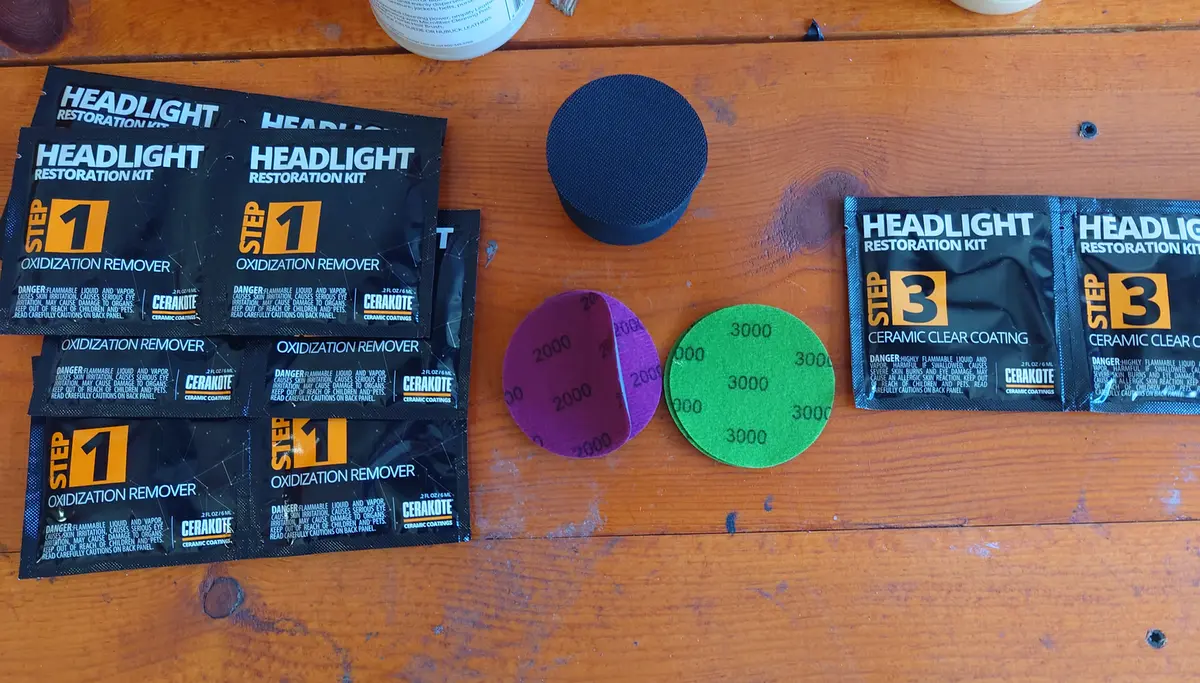
It's a 3 step process
Step 1 - Oxidation Removal
Using the Oxidization remover pads and wipe down each headlight. They give you like 9 pads they say to use them all. But after 2 passes, nothing else was coming off with the pads, so decided to move to the next step.
Step 2 - Sanding
The next step is to wet sand the headlights, 1st with 2000 grit in an even stroke pattern. Then move to the 3000 grit to clean it up. When finished you'll be left with a hazy looking headlight. This is OK,
Step 3 - Ceramic clear coat
The last step is to apply the clear coat to the headlight. You start at the top of the headlight and work your way down in a horizontal swipe overlapping as you go. Do this with both headlights. This is where you need to be careful, they only give you 2 pads (one for each headlight). DO NOT DROP or get anything on the pads!
After completing these steps, you need to let it cure for about 60 minutes.
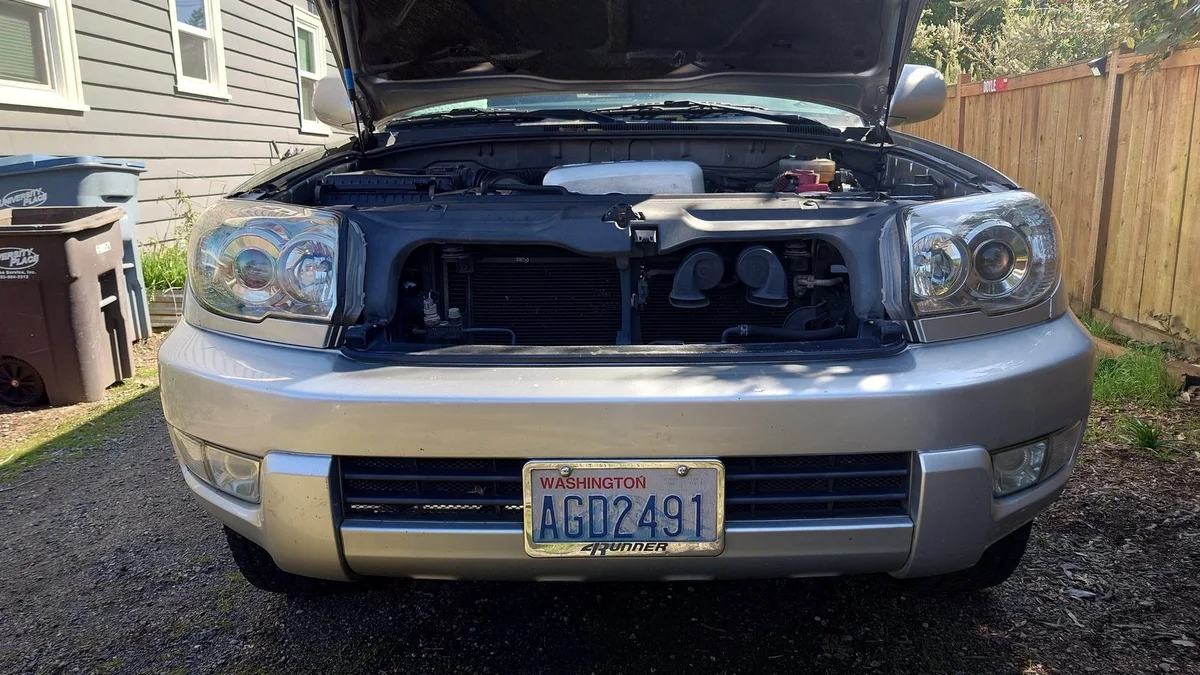
First impressions
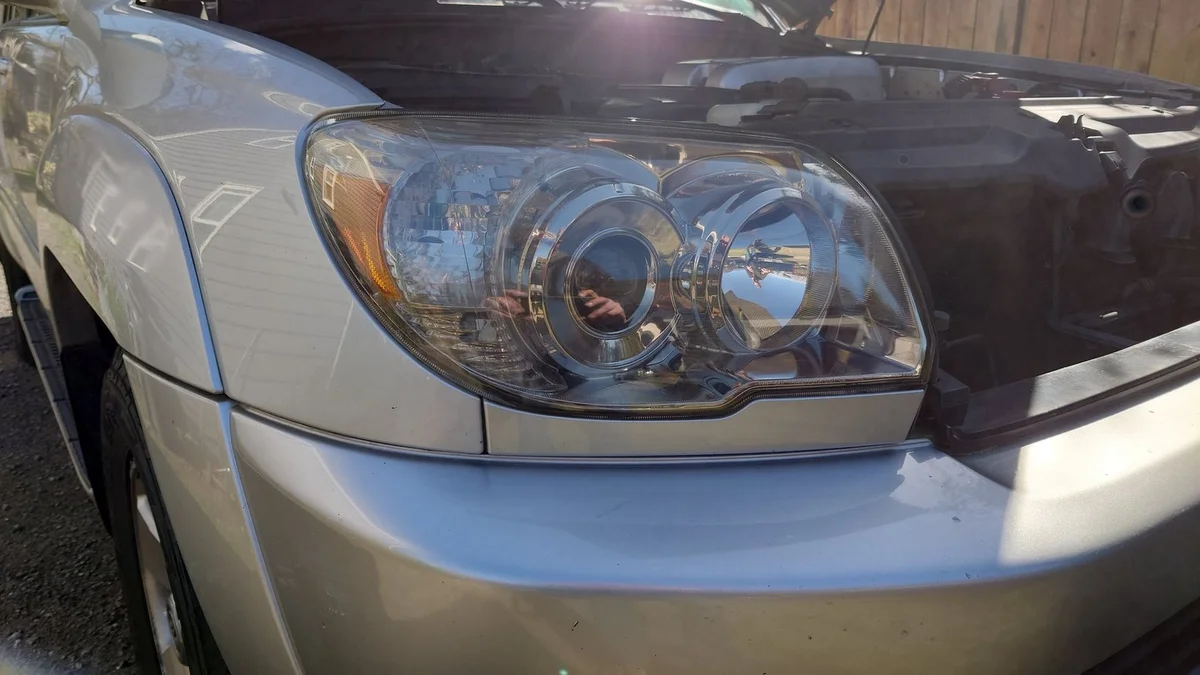
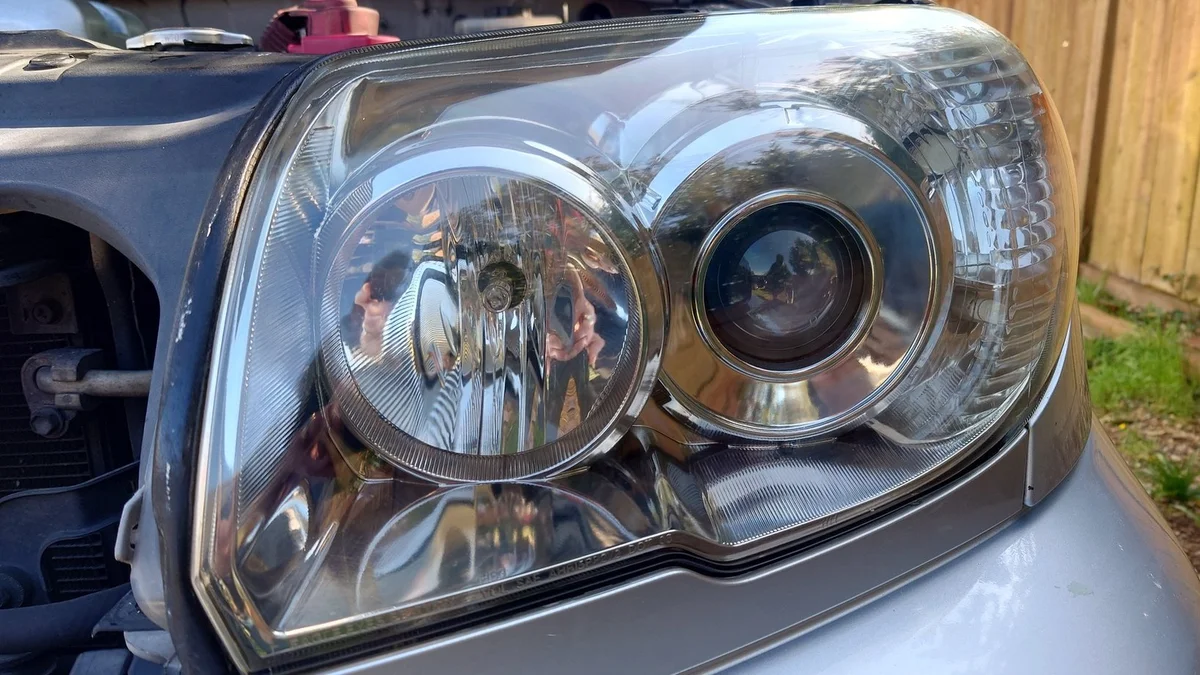
Wow! They really turned out great compared to how they were. They actually look better compared to when I polished them. The true test will be, how long will it last! I'll edit this post at the end of Summer to report if they held up or not.
3 Month Update
Just wanted to report back that at the 3 month mark, the headlights are still clear of oxidation and look great. Really hoping these remain this way. Next update will be in 1 year.